Spring onion kimchi (pa-kimchi)
Slender spring onions coated from white bulb to green leaf in a simple kimchi seasoning. The guide explains the resting order, paste and gentle packing.
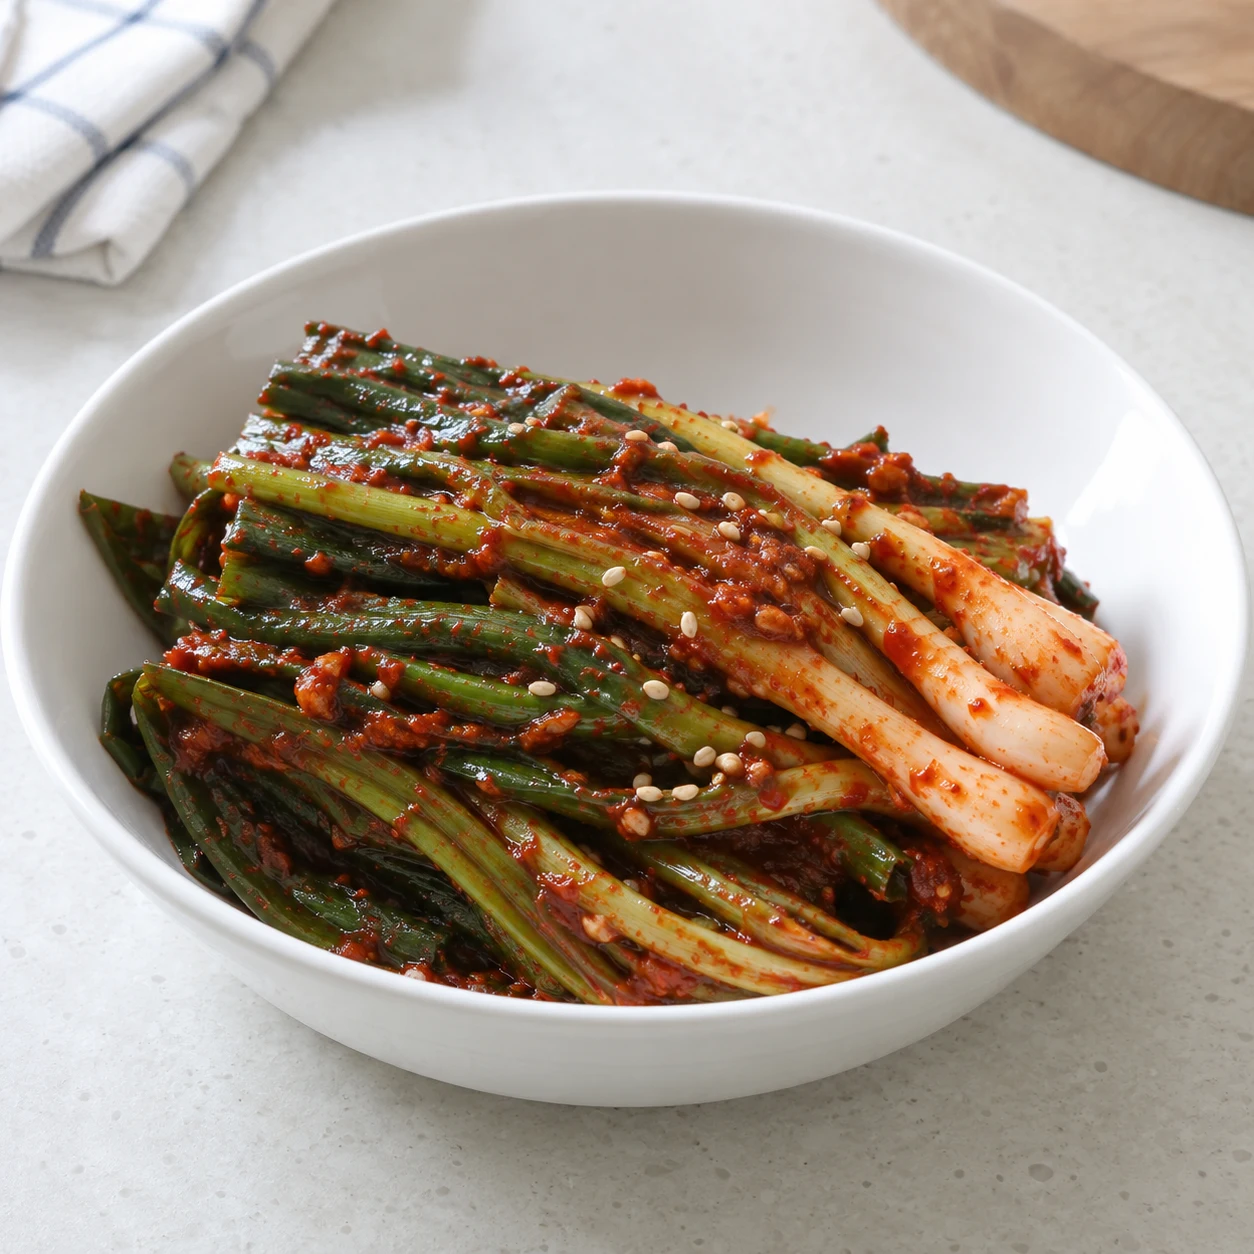
AI-generated cooking illustrations. Follow the written quantities and instructions.
Ingredients
6 servings
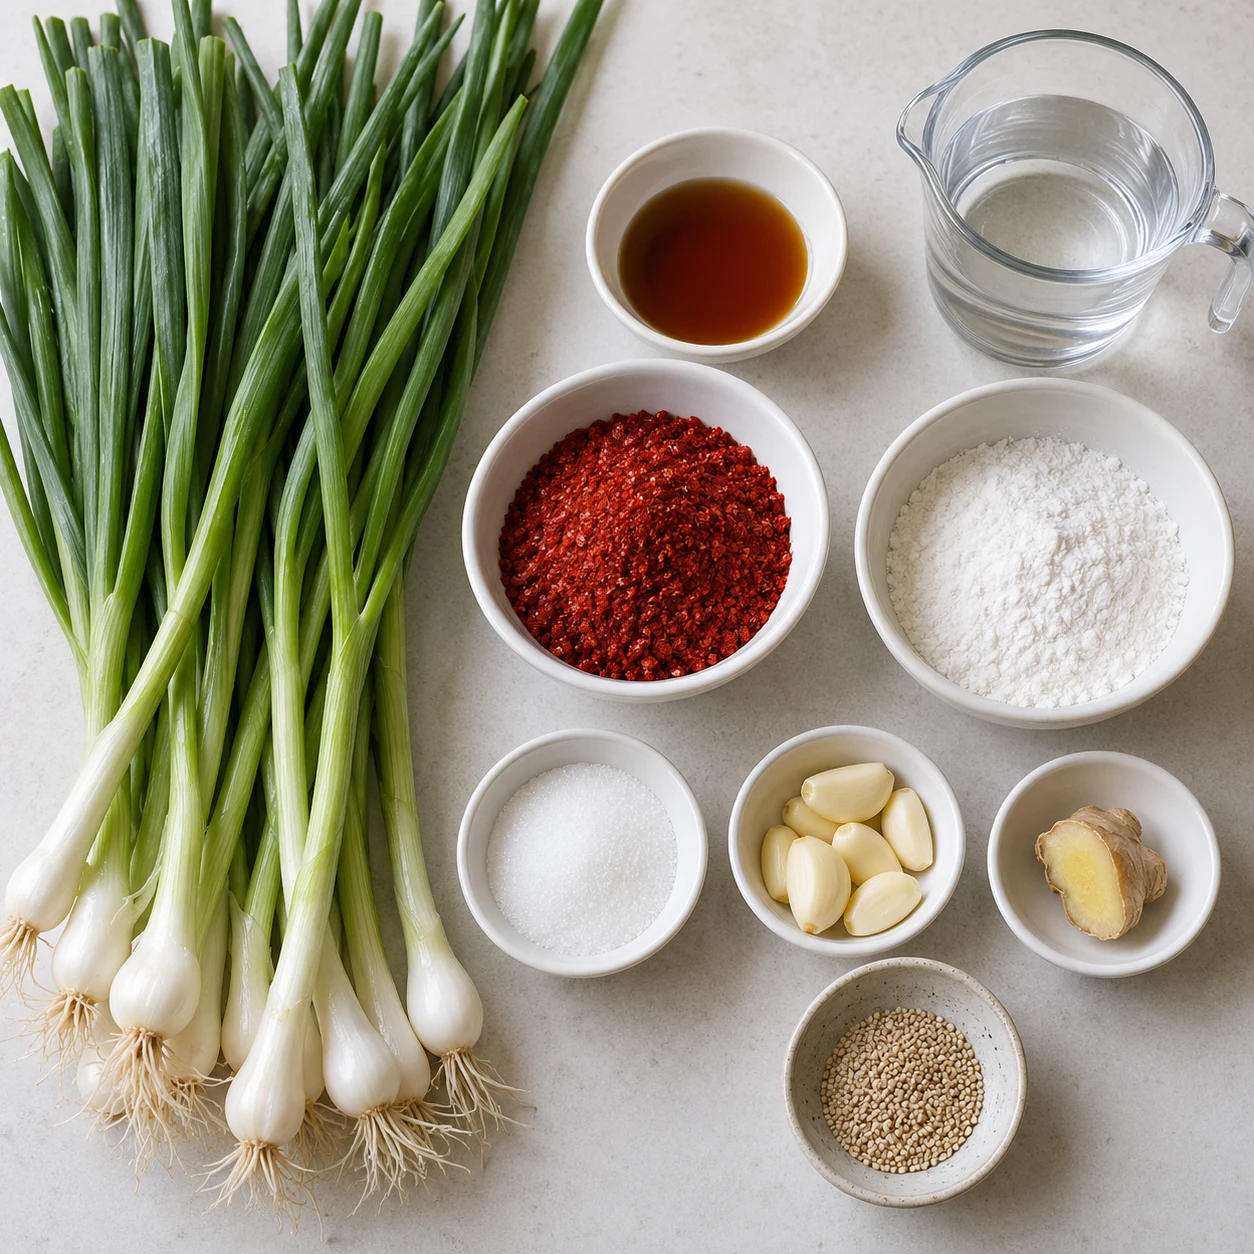
Everyday kitchen measurements
For 6 servings. Use a small 180 ml paper cup, a level eating spoon (about 15 ml) and a small teaspoon (about 5 ml).
How to fill the cup and spoons
Use the same cup and spoons throughout. Their sizes vary, so these amounts are approximate. Spoon flour in loosely and level the top without pressing. Measure vegetables after chopping, without packing them down. The amounts in g/ml are the original reference quantities. For part of a pack, use the specified pack weight and divide the contents evenly.
King Arthur Baking-
Essential
Use slender spring onions or Korean jjokpa, not thick leeks. Keep the white bulbs and green leaves together; wash soil away carefully.
-
Substitute available
If Fish sauce is unavailable
- Use instead
- Regular soy sauce
- Substitute quantity
- 2 level eating spoonsReference quantity: 30 ml
Use the same amount and refrigerate immediately. The aroma and salt balance change; eat the soy-sauce version within 3 days as fresh seasoned onions.
-
Essential
Use Korean chilli flakes; 2 eating spoons gives a milder but still spicy batch.
-
Substitute available
If Rice flour is unavailable
- Use instead
- Plain wheat flour
- Substitute quantity
- 1 small teaspoonReference quantity: 3 g
Cook with the same water until bubbling and lightly thickened, then cool completely before mixing.
-
Essential
Cook with the flour and cool completely. This is not extra brining water.
-
Optional
May be omitted. Skip its preparation and addition and keep the other amounts unchanged; the aroma will be milder.
-
Optional
May be omitted. Skip its preparation and addition and keep the other amounts unchanged; the aroma will be milder.
-
Optional
May be omitted. Skip its preparation and addition and keep the other amounts unchanged; the aroma will be milder.
-
Optional
May be omitted. Skip its preparation and addition and keep the other amounts unchanged; the aroma will be milder.
Tap each ingredient as you prepare it. Check product labels for egg, soy, sesame, wheat, fish or shellfish where relevant.
Step-by-step cooking
-
Step 1
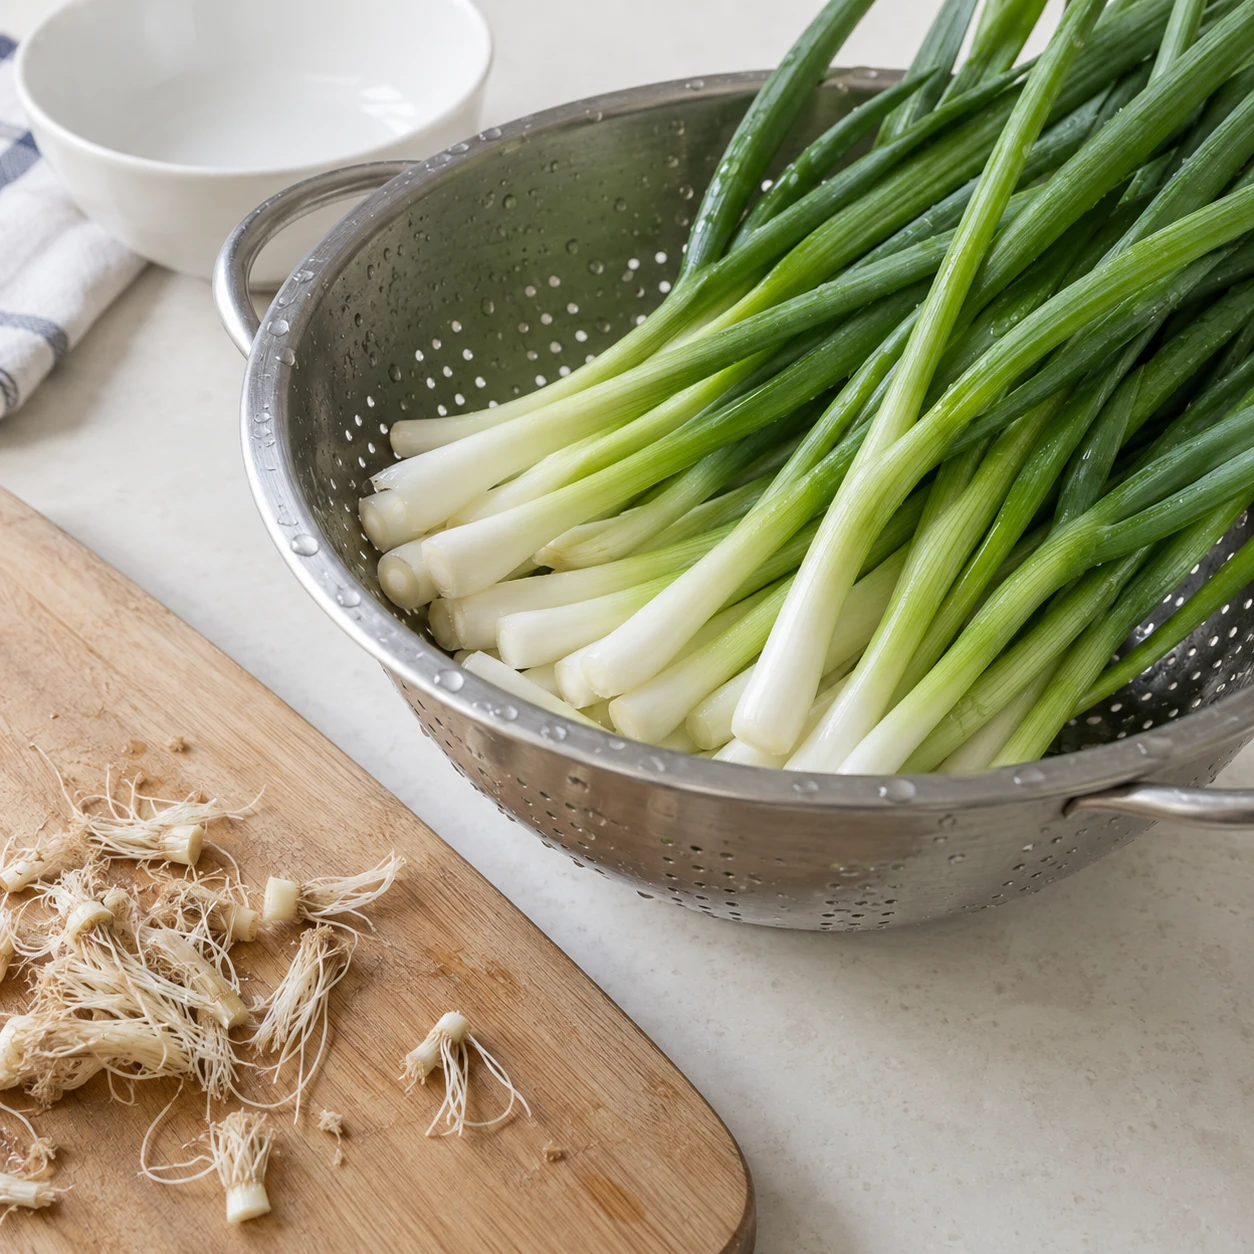
Trim roots and damaged leaf tips without cutting away the small white bulbs. Wash the onions thoroughly, especially between leaves, and drain well. Leave the onions whole so bulbs and leaves stay attached.
-
Step 2
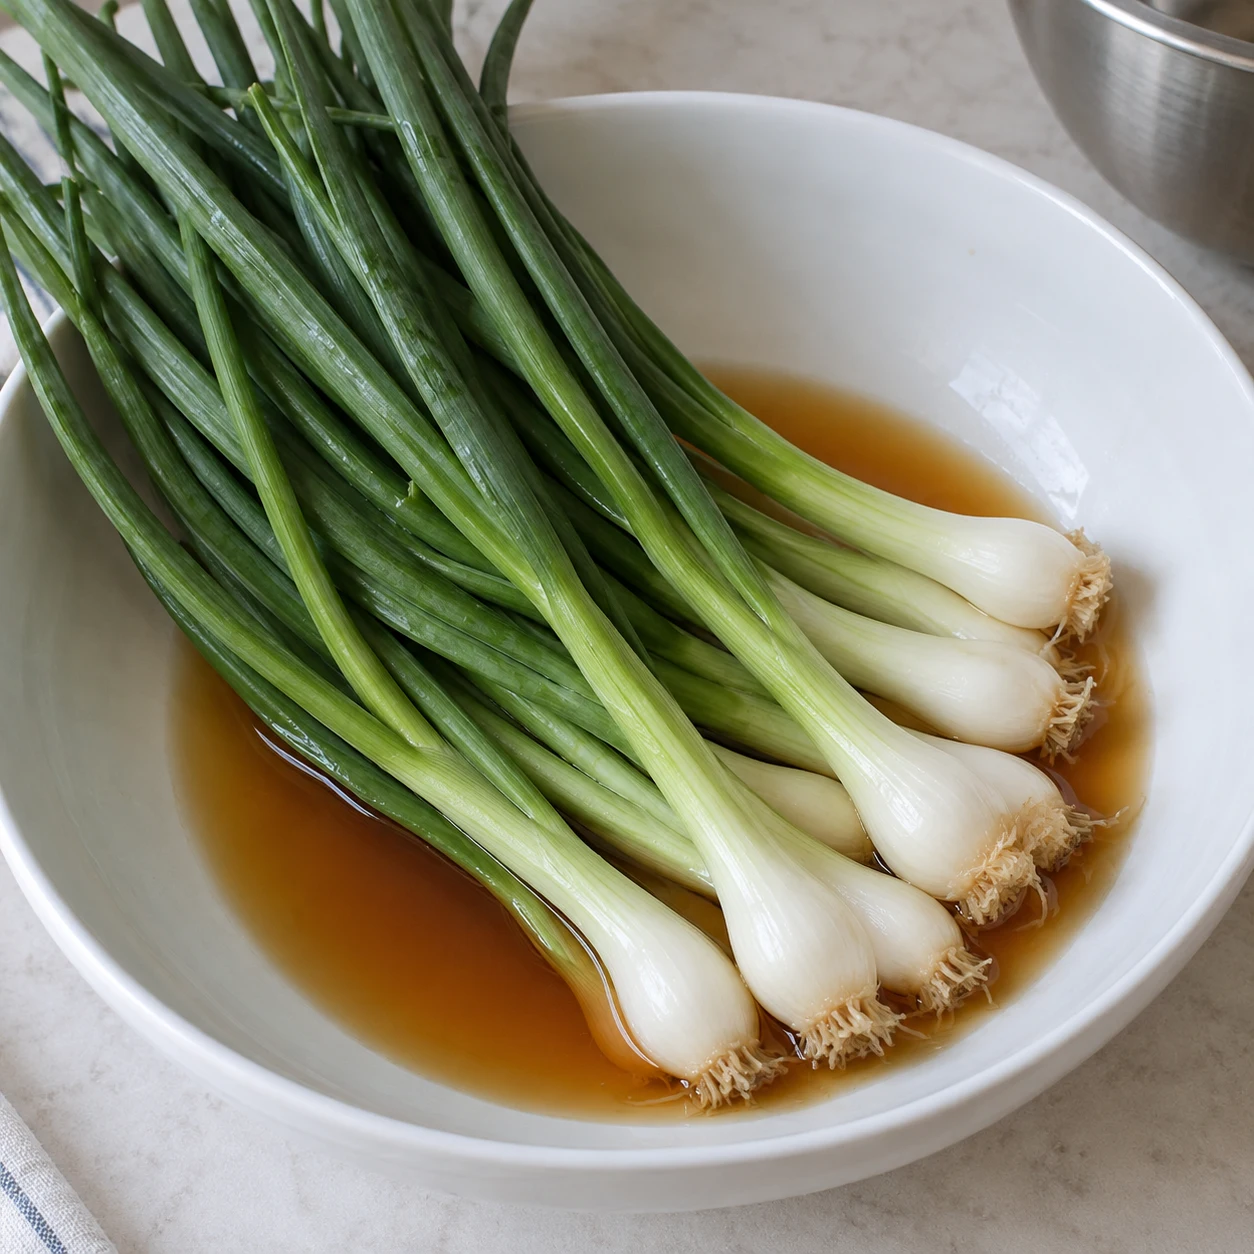
Lay in a wide clean dish with the white bulb ends together. Pour fish sauce mainly over the white ends. Leave for 20 minutes, turning the onions halfway through, then gently coat the green leaves with the same liquid.
-
Step 3
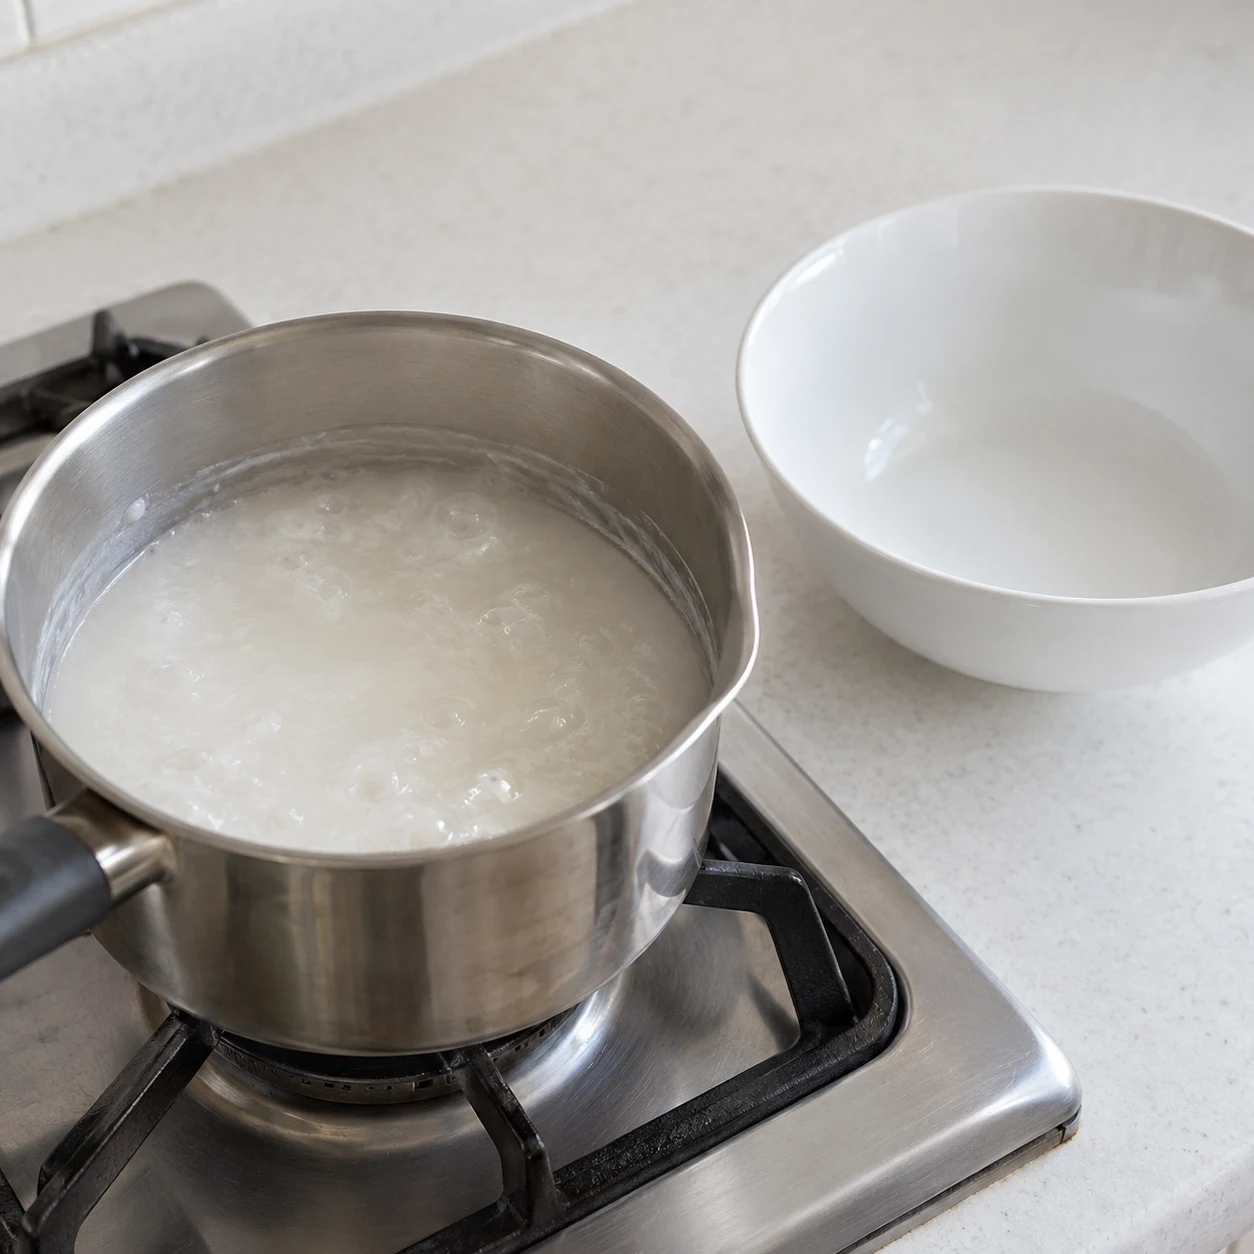
While they rest, mix rice flour and 3 eating spoons of water in a small saucepan. Heat gently and stir for 1–2 minutes until bubbling and lightly thickened. Transfer to a clean bowl and cool completely.
-
Step 4
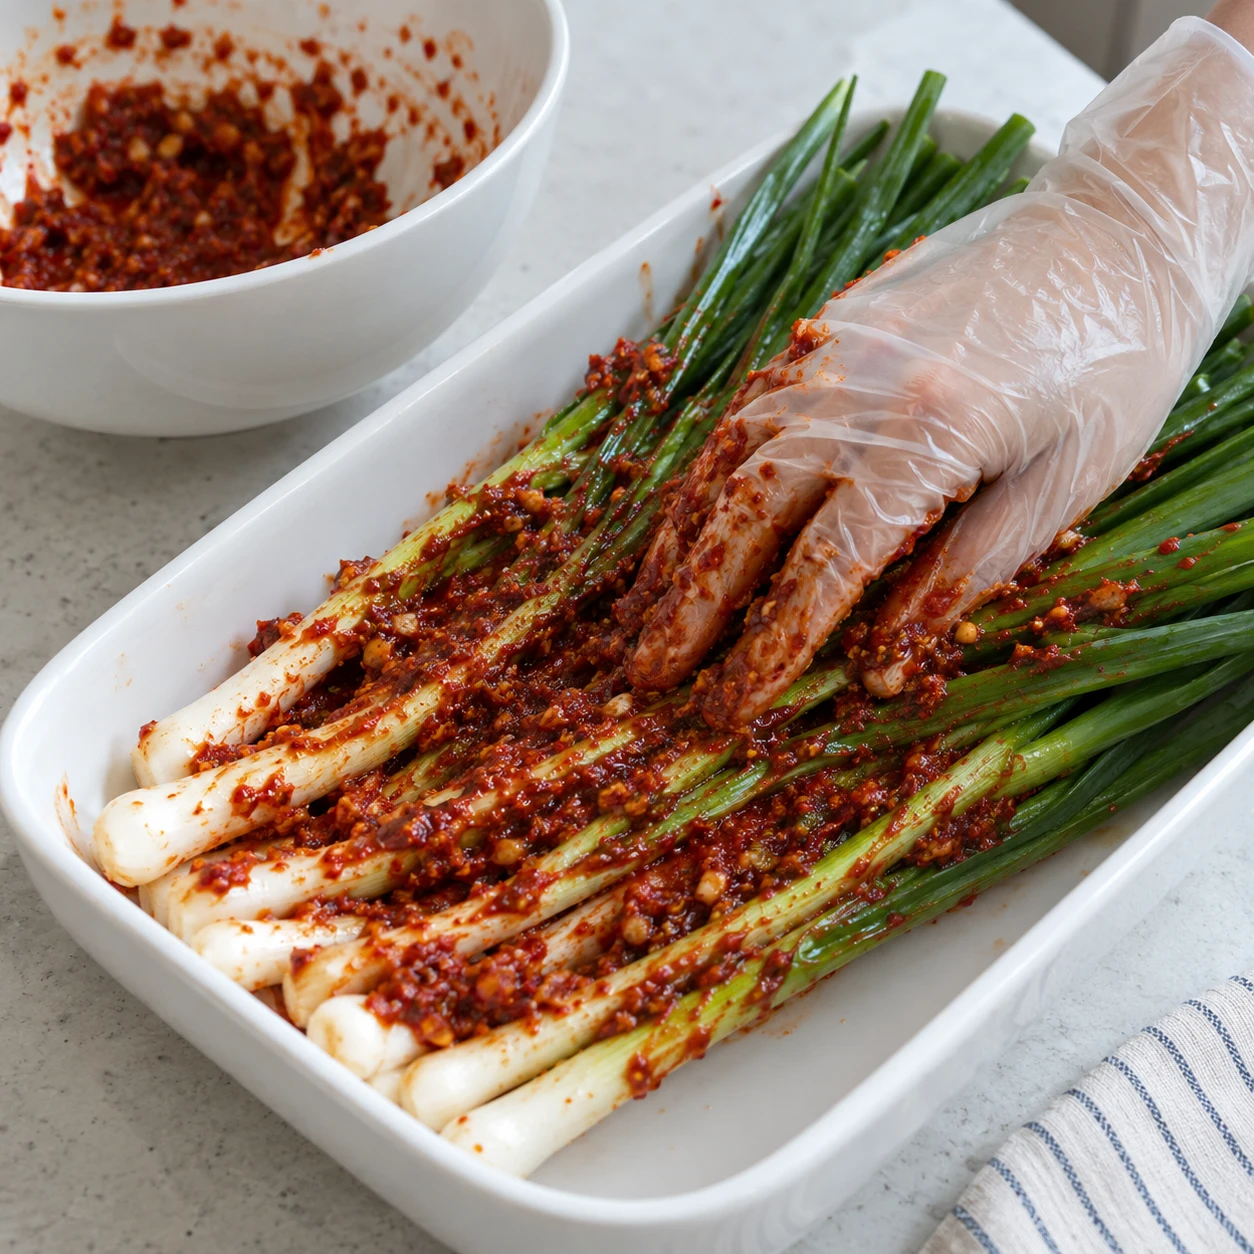
Mix the cooled paste with gochugaru, sugar, garlic and ginger. Add the fish-sauce liquid from the onion dish. Spread gently along the white bulbs and green leaves using clean utensils or food-safe gloves.
-
Step 5
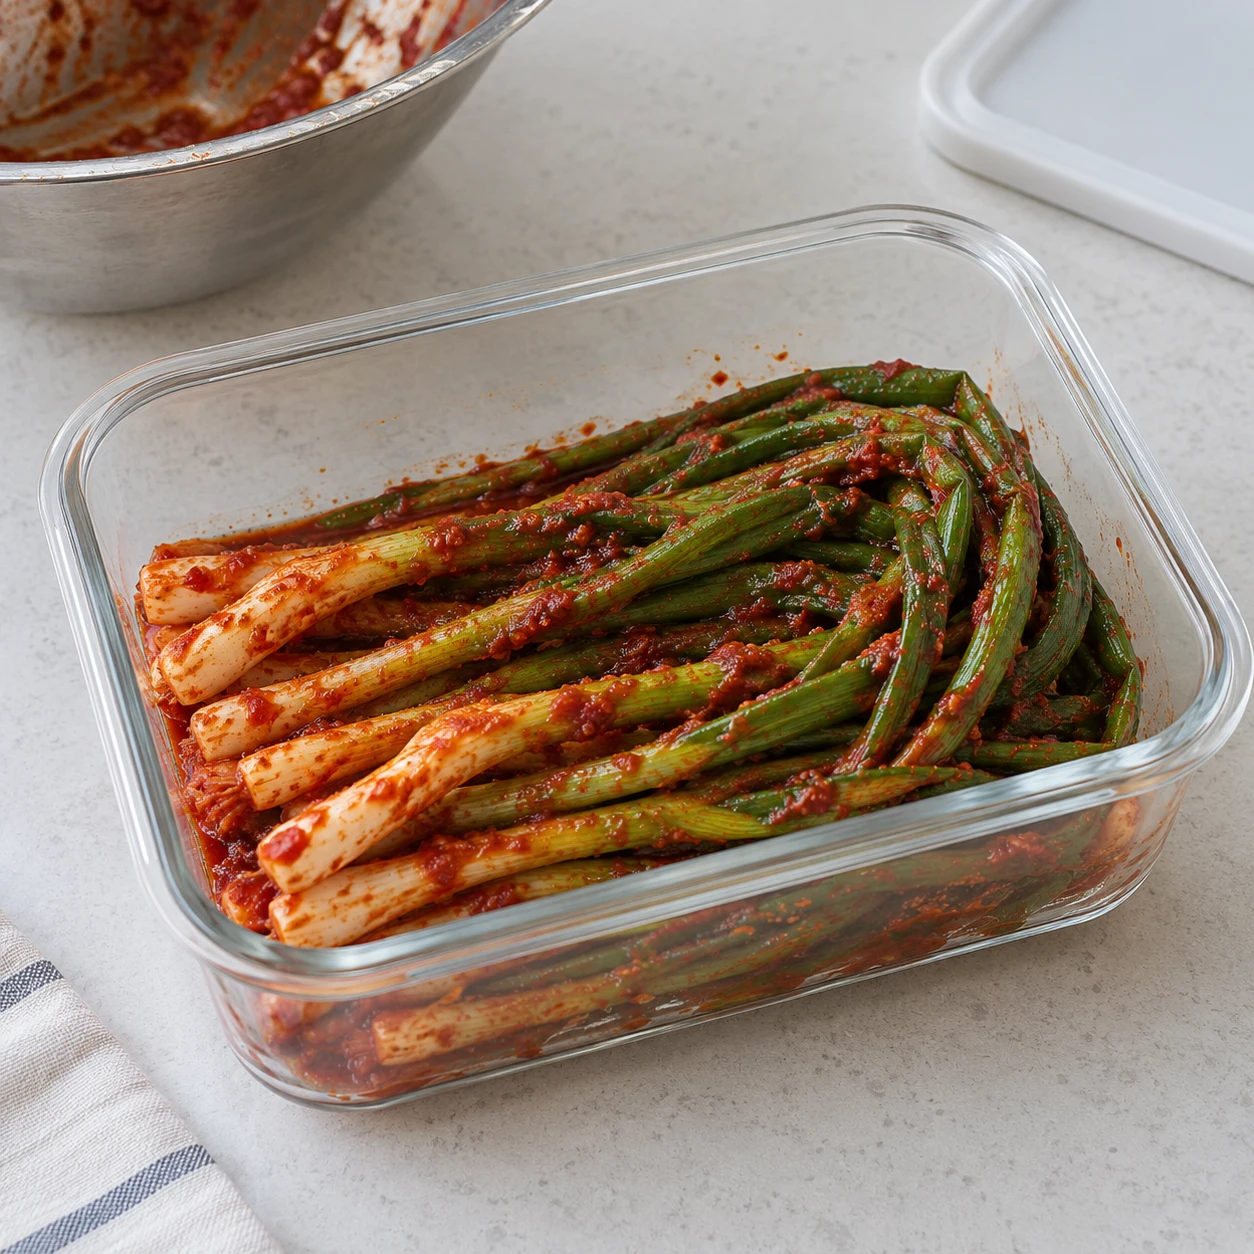
Fold the long onions loosely to fit a clean food container; do not crush or tie them tightly. Scatter with sesame seeds if using, keep the seasoning liquid and leave about 3 cm of headspace. Close and refrigerate immediately.
-
Step 6
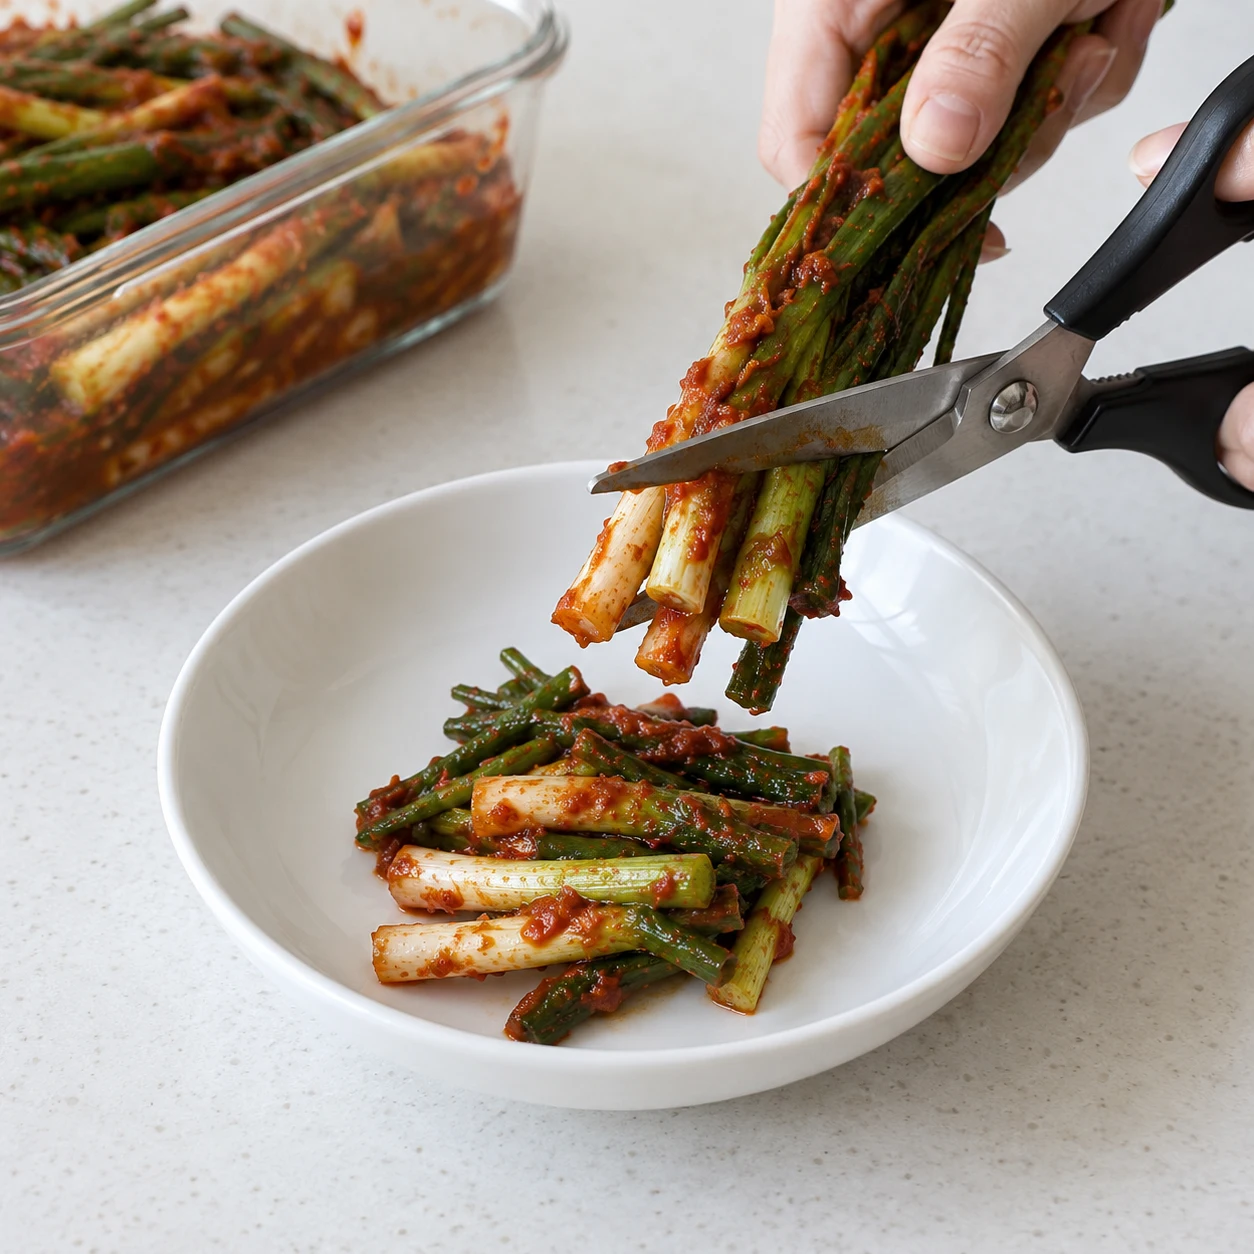
Serve fresh for a sharper taste or keep refrigerated for 1–3 days to mellow. Cut a small portion into bite-size lengths just before serving. Use clean utensils and keep the remaining kimchi at 4°C or below.
Finished dish
The 50-minute time is active preparation and resting; optional refrigerator maturation adds 1–3 days. Keep at 4°C or below and use within 7 days, or within 3 days with the soy-sauce alternative. Do not leave the container on the counter to speed fermentation. Discard mouldy or spoiled kimchi rather than tasting it.
Enjoy every bite
How to enjoy it
Serve a small portion beside warm rice. Use a clean utensil for each dish and refrigerate the rest promptly.
Serve it with
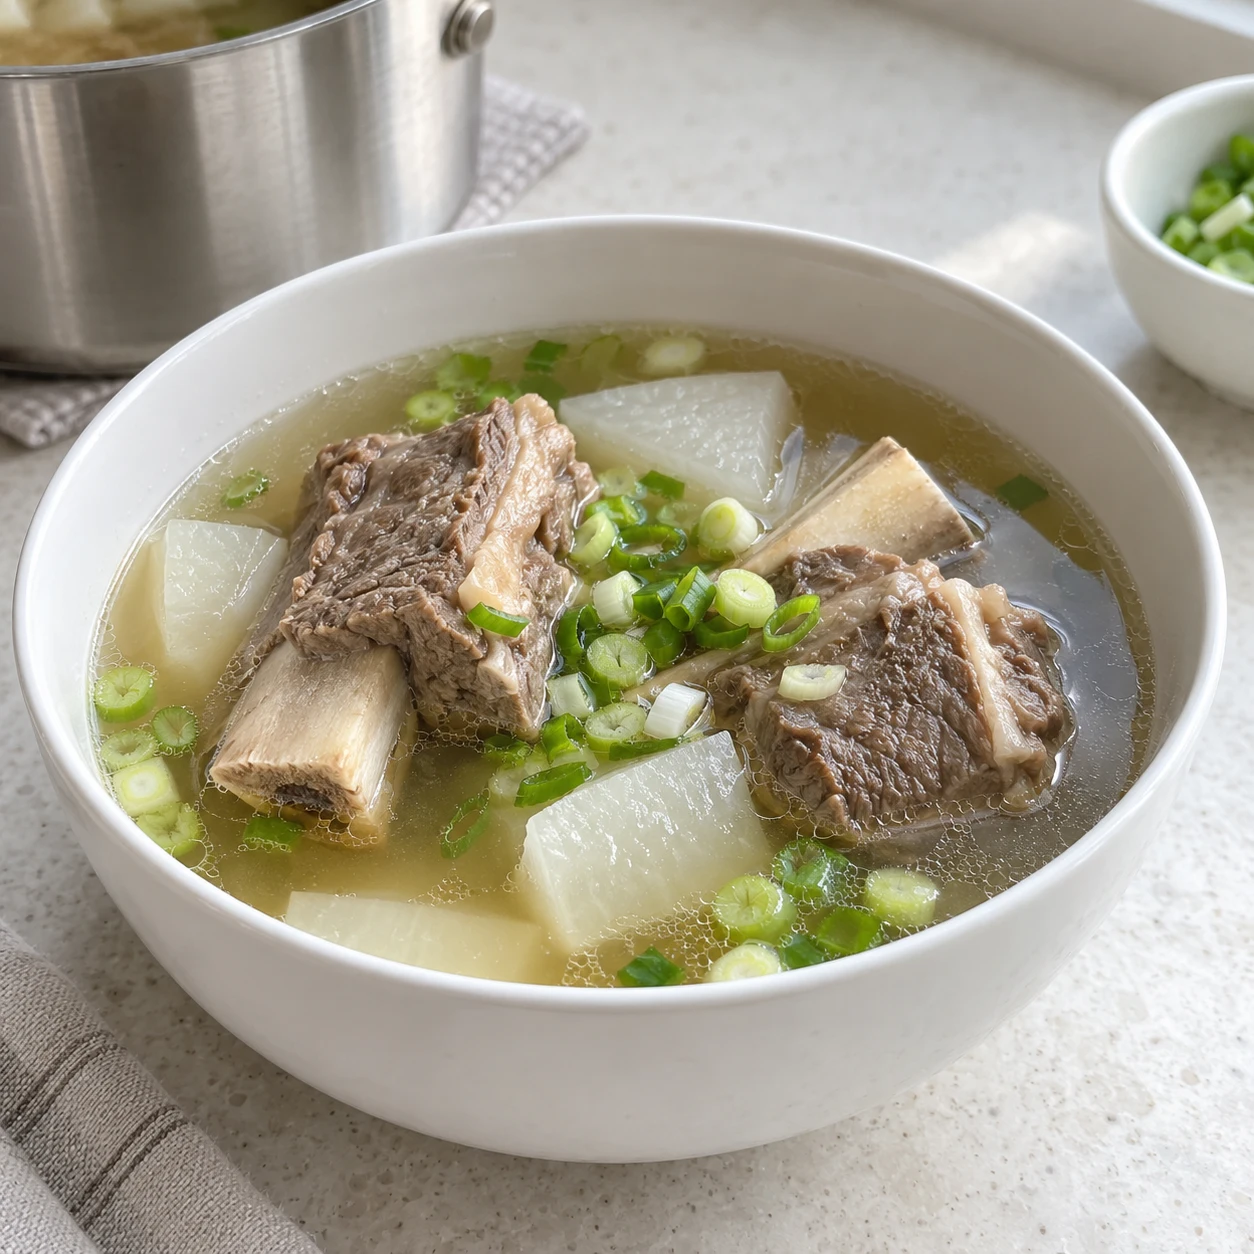
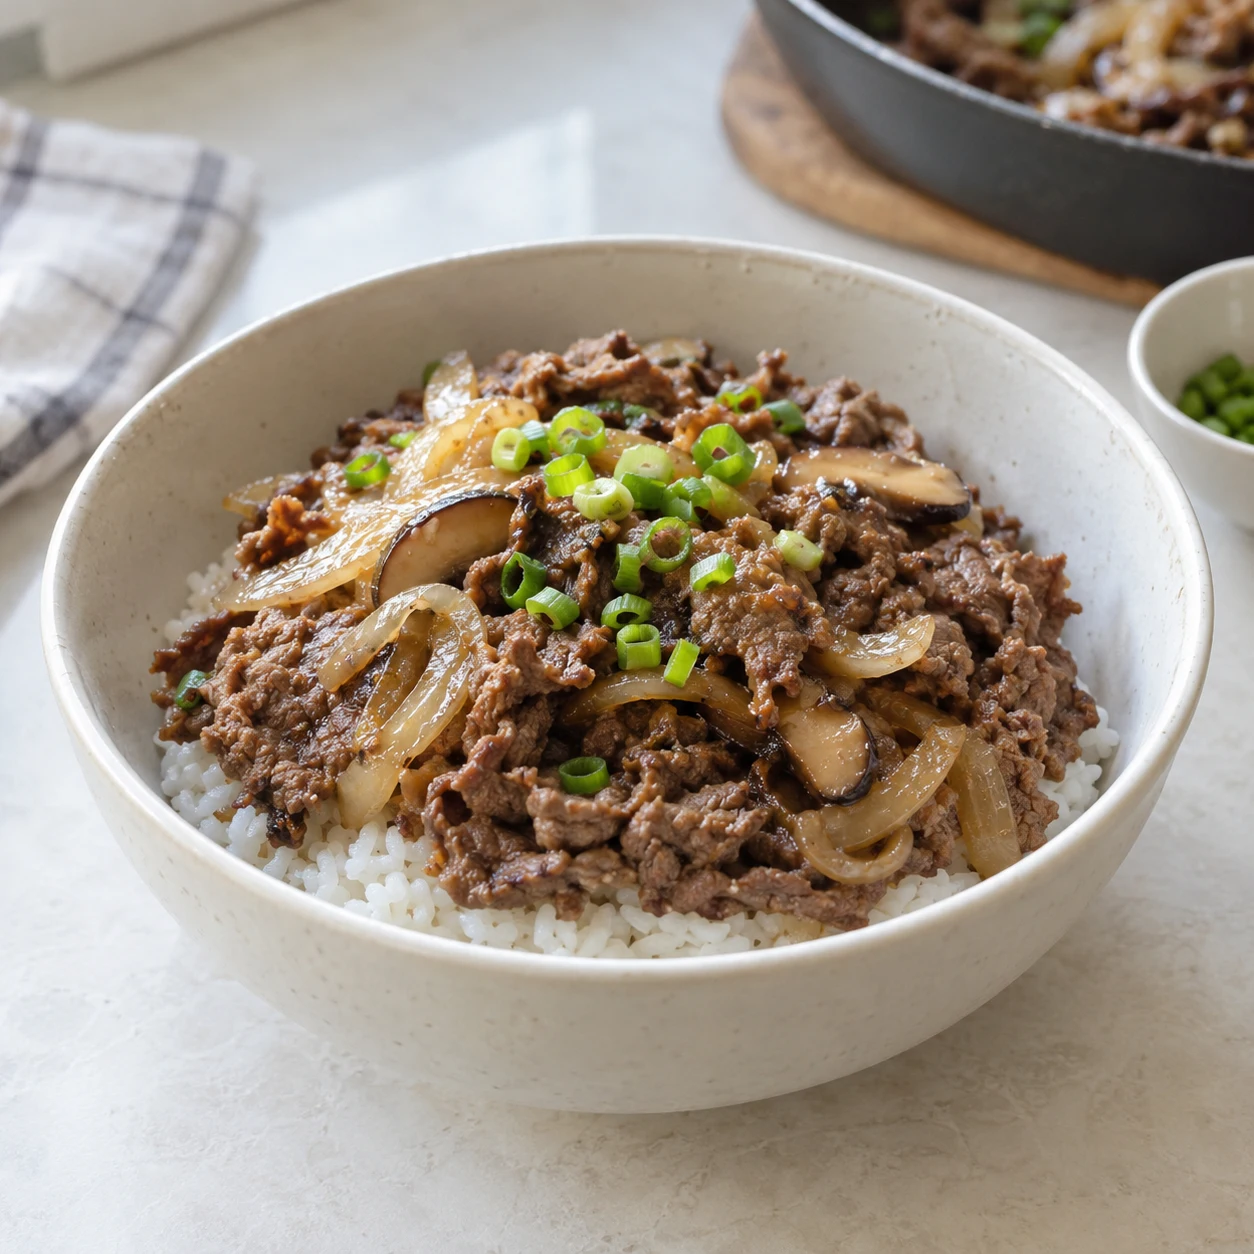
Clear beef short rib soup (galbitang)
A sip of warm broth makes a pleasant change between bites.
View recipe