Korean steamed eggs
Soft, mild steamed egg custard made in an ordinary heatproof bowl and a covered pot. No special Korean stone pot or microwave is needed.
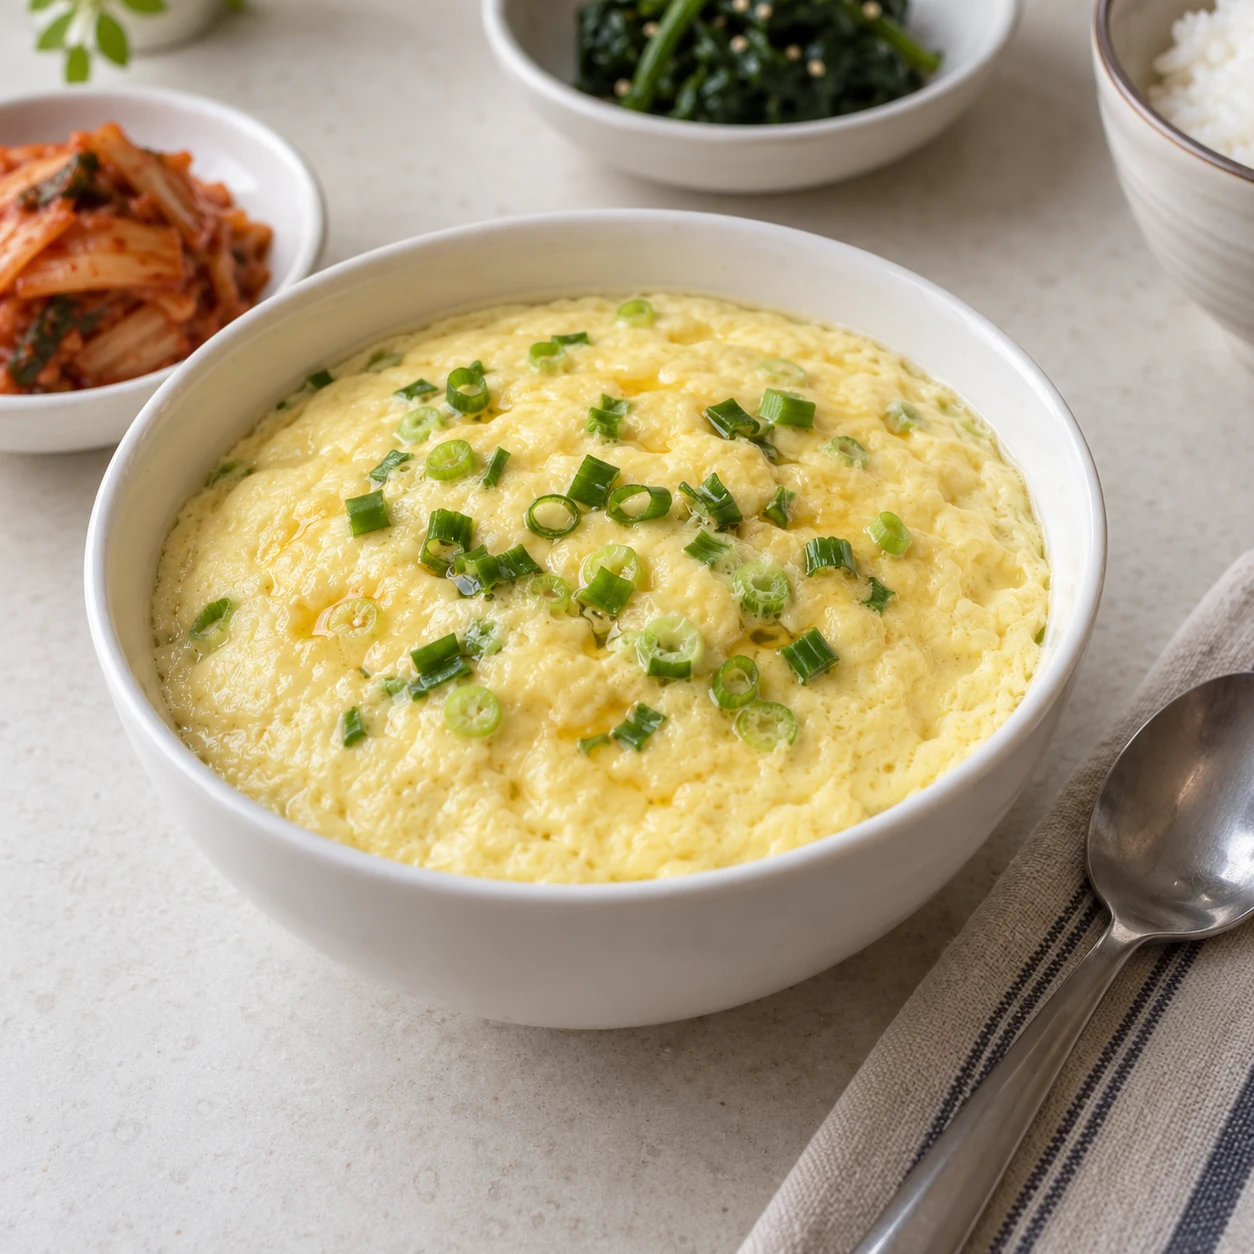
AI-generated cooking illustrations. Follow the written quantities and instructions.
Ingredients
2 servings
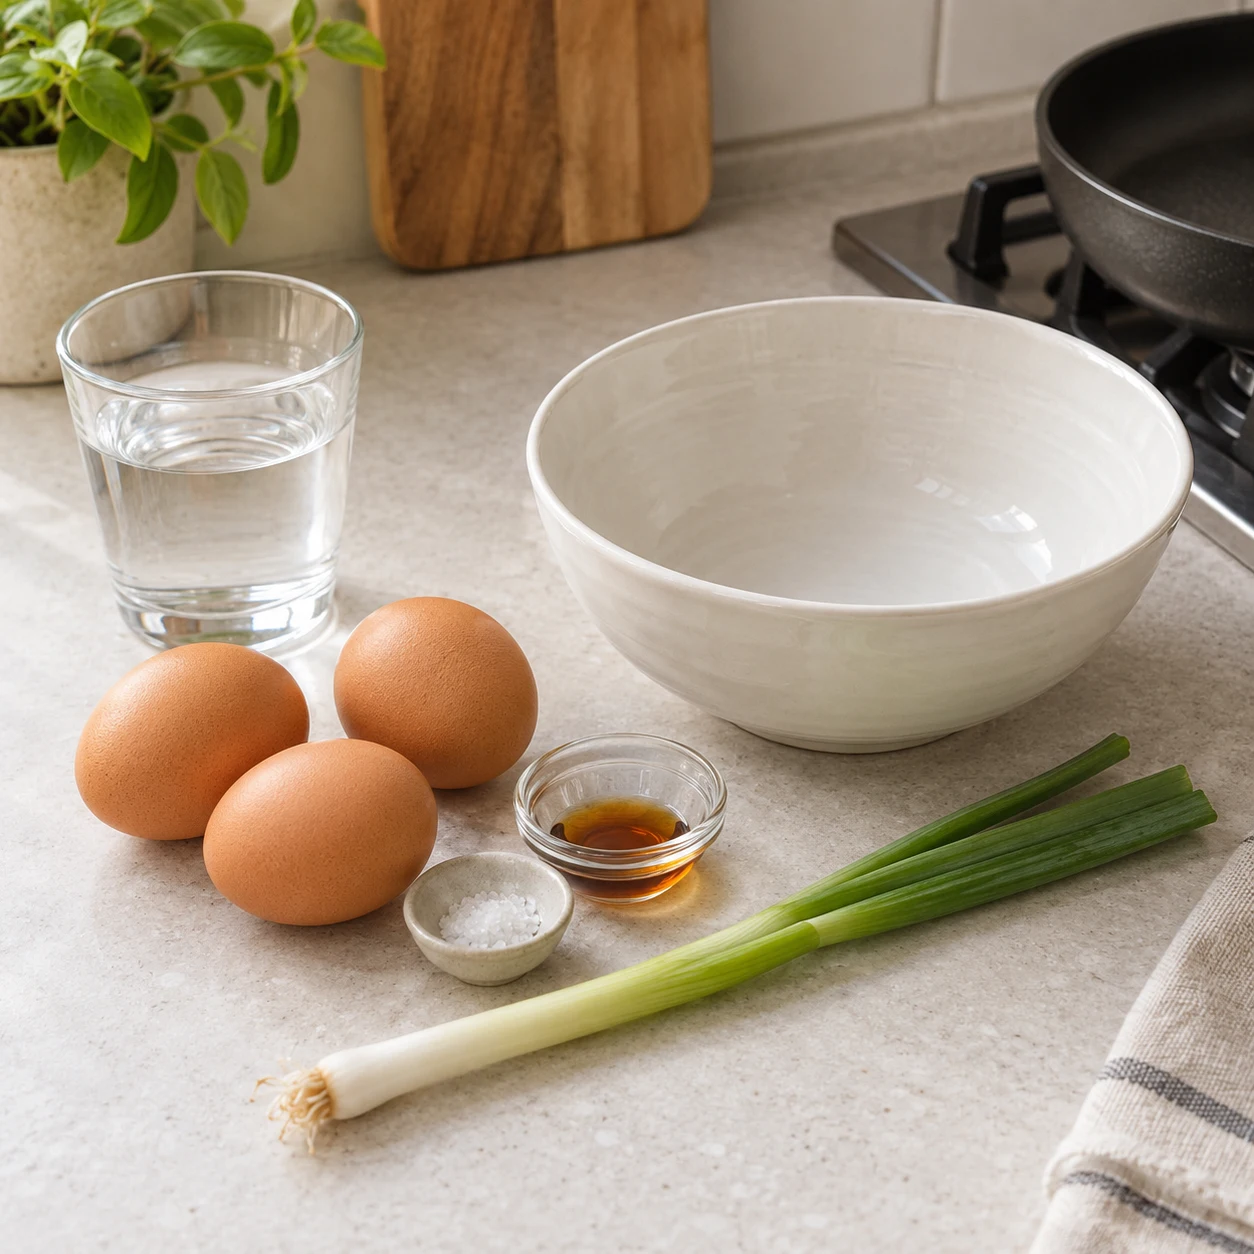
Everyday kitchen measurements
For 2 servings. Use a small 180 ml paper cup, a level eating spoon (about 15 ml) and a small teaspoon (about 5 ml).
How to fill the cup and spoons
Use the same cup and spoons throughout. Their sizes vary, so these amounts are approximate. Spoon flour in loosely and level the top without pressing. Measure vegetables after chopping, without packing them down. The amounts in g/ml are the original reference quantities. For part of a pack, use the specified pack weight and divide the contents evenly.
King Arthur Baking-
Essential
Eggs form the custard and are essential. Use whole eggs, including whites and yolks; there is no direct plant substitute for this recipe.
-
Essential
Required for the correct broth or egg texture. Use the listed paper-cup amount for the food; any extra water below a steaming rack stays outside the bowl. Add small amounts of hot water during braising only if it starts drying out.
-
Optional
May be omitted for a less salty dish. Use no more than the listed small amount; cooking time stays the same.
-
Optional
May be omitted entirely; skip the chopping and final addition. It adds a fresh onion aroma and green color, but does not control cooking time.
-
Optional
May be omitted. It is only a finishing aroma; do not add extra oil to the egg mixture to compensate. Sesame is an allergen.
Tap each ingredient as you prepare it. Check product labels for egg, soy, sesame, wheat, fish or shellfish where relevant.
Step-by-step cooking
-
Step 1
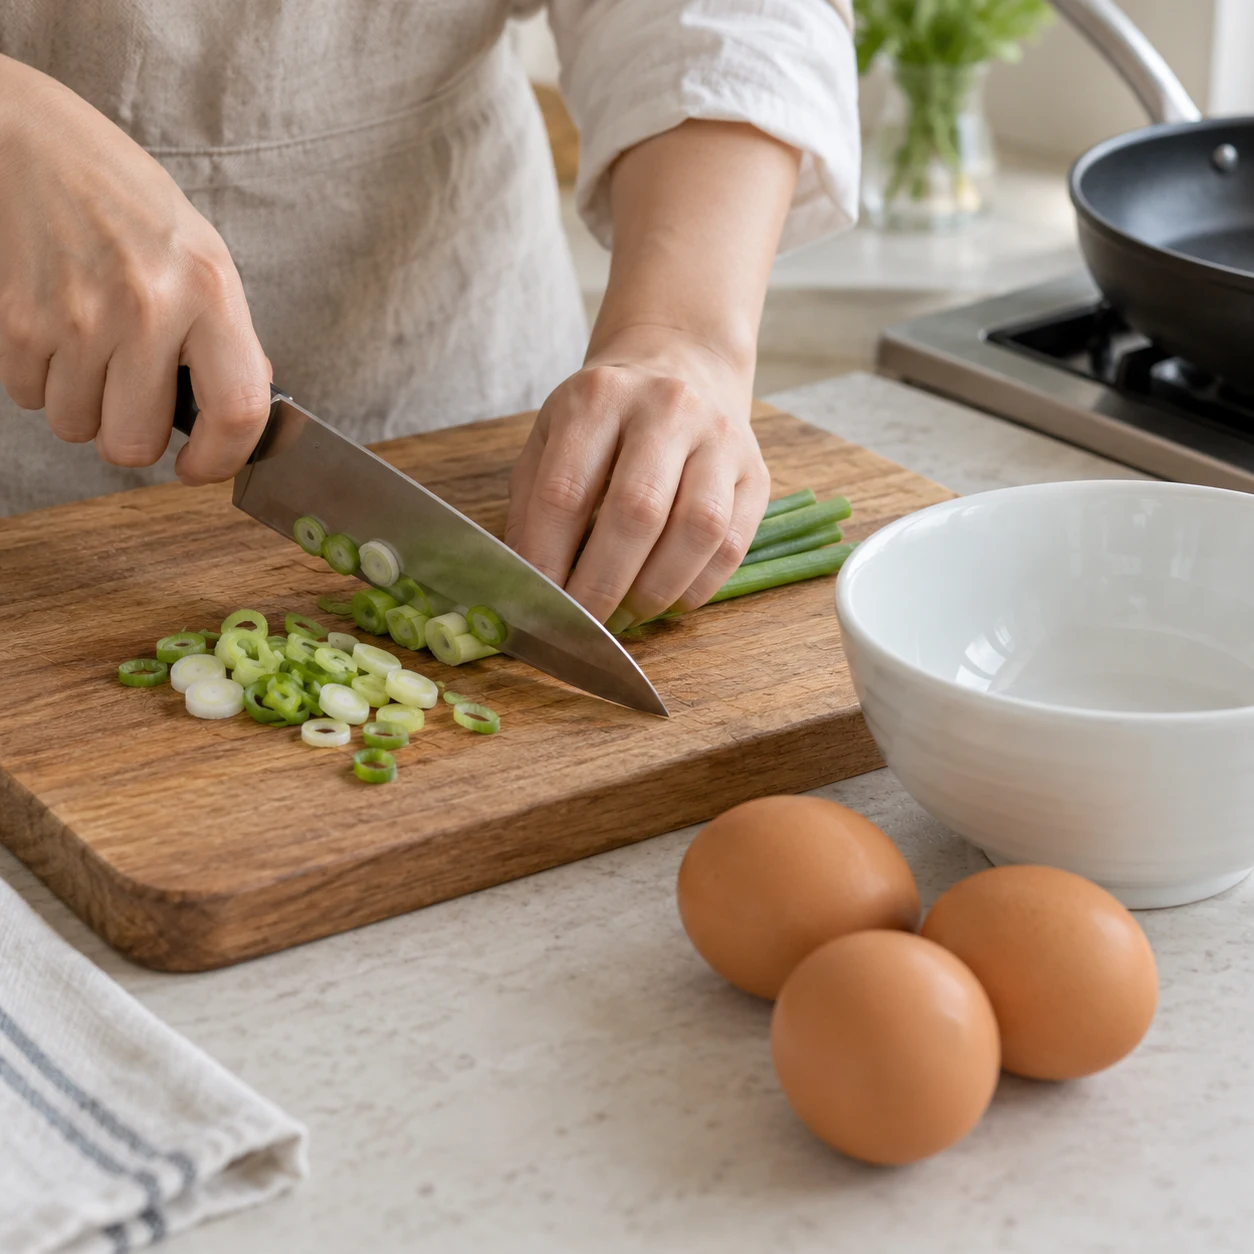
Use a deep heatproof ceramic bowl of at least 600 ml, a lidded pot and a stable low steaming rack. The bowl must fit with space around it. Slice the scallion finely if using. Crack the 3 eggs into a separate bowl; do not use ordinary glass or plastic over boiling water.
-
Step 2
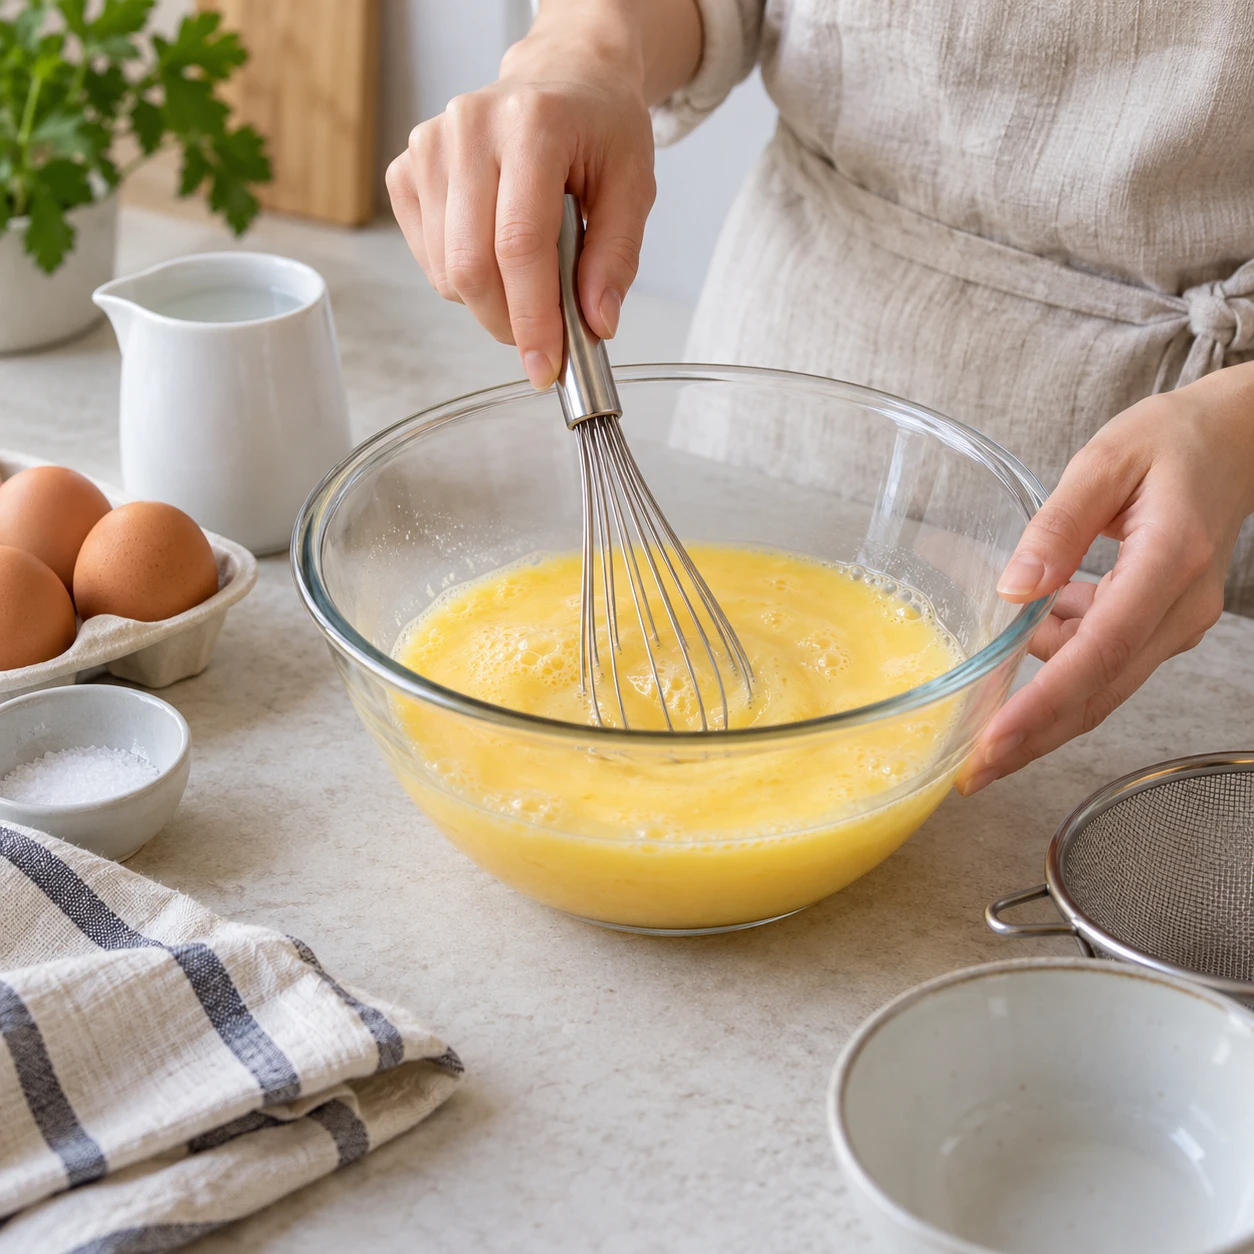
Beat all 3 eggs gently with 1 small paper cup water and ¼ small teaspoon salt. Avoid whipping in lots of air. Pour through a fine sieve into the heatproof bowl for a smoother texture; scraping is unnecessary. Keep the bowl no more than two-thirds full.
-
Step 3
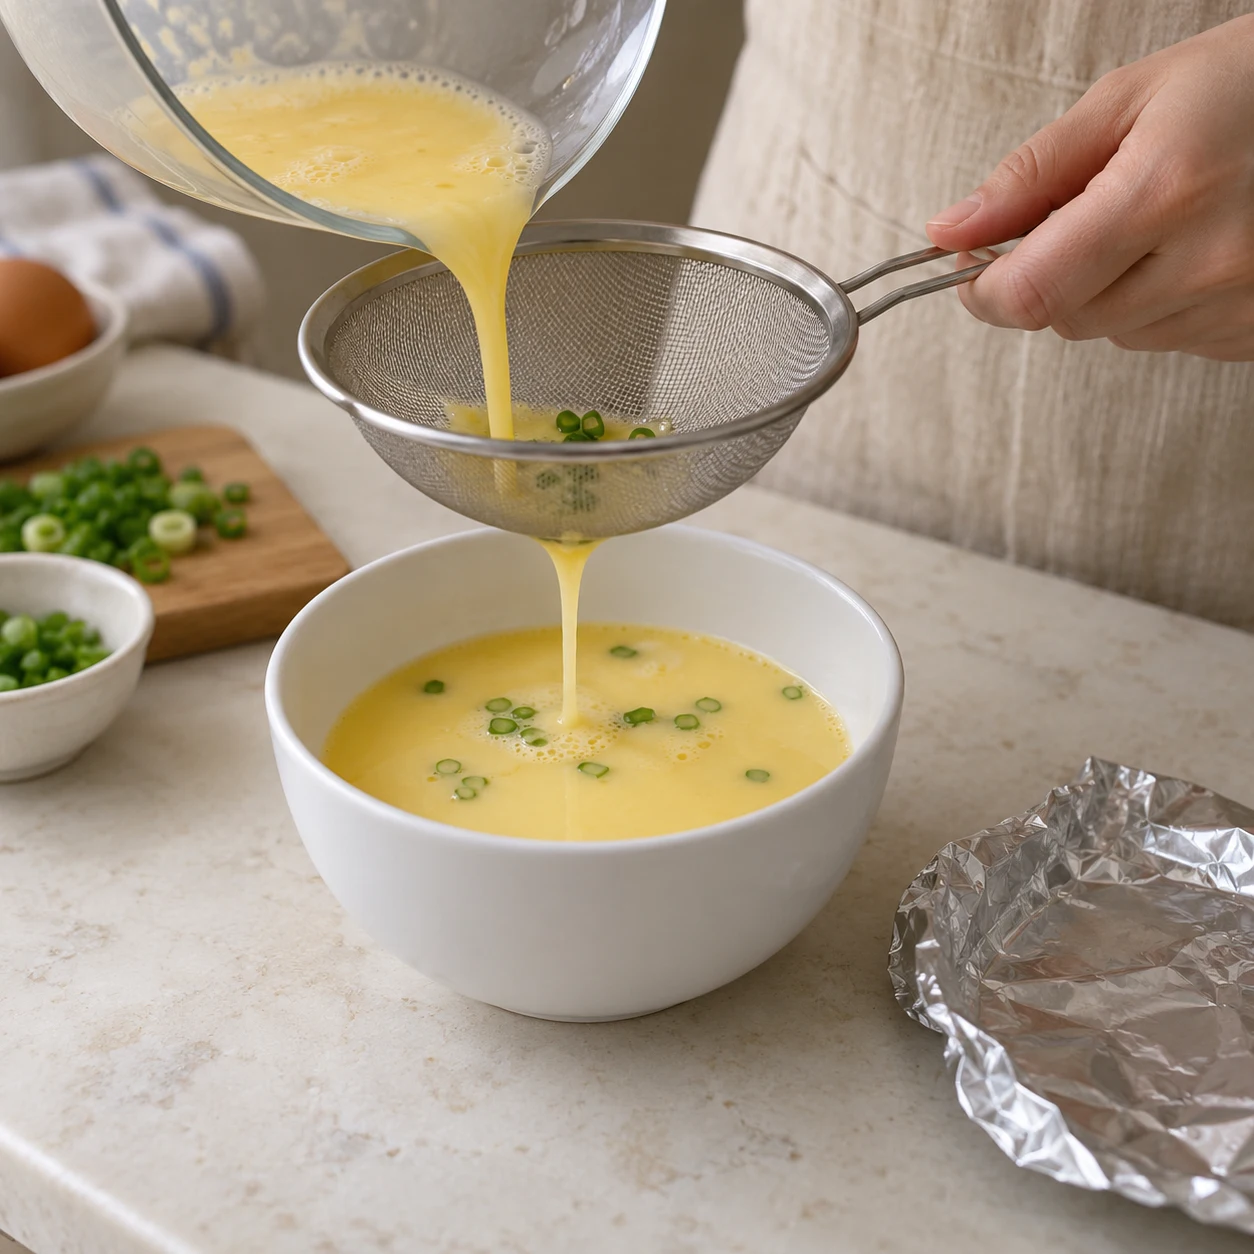
Sprinkle in the optional scallion. Cover the bowl loosely with foil so condensation does not drip into the eggs; do not seal airtight. No sesame oil yet. The egg mixture is still raw, so do not taste it.
-
Step 4
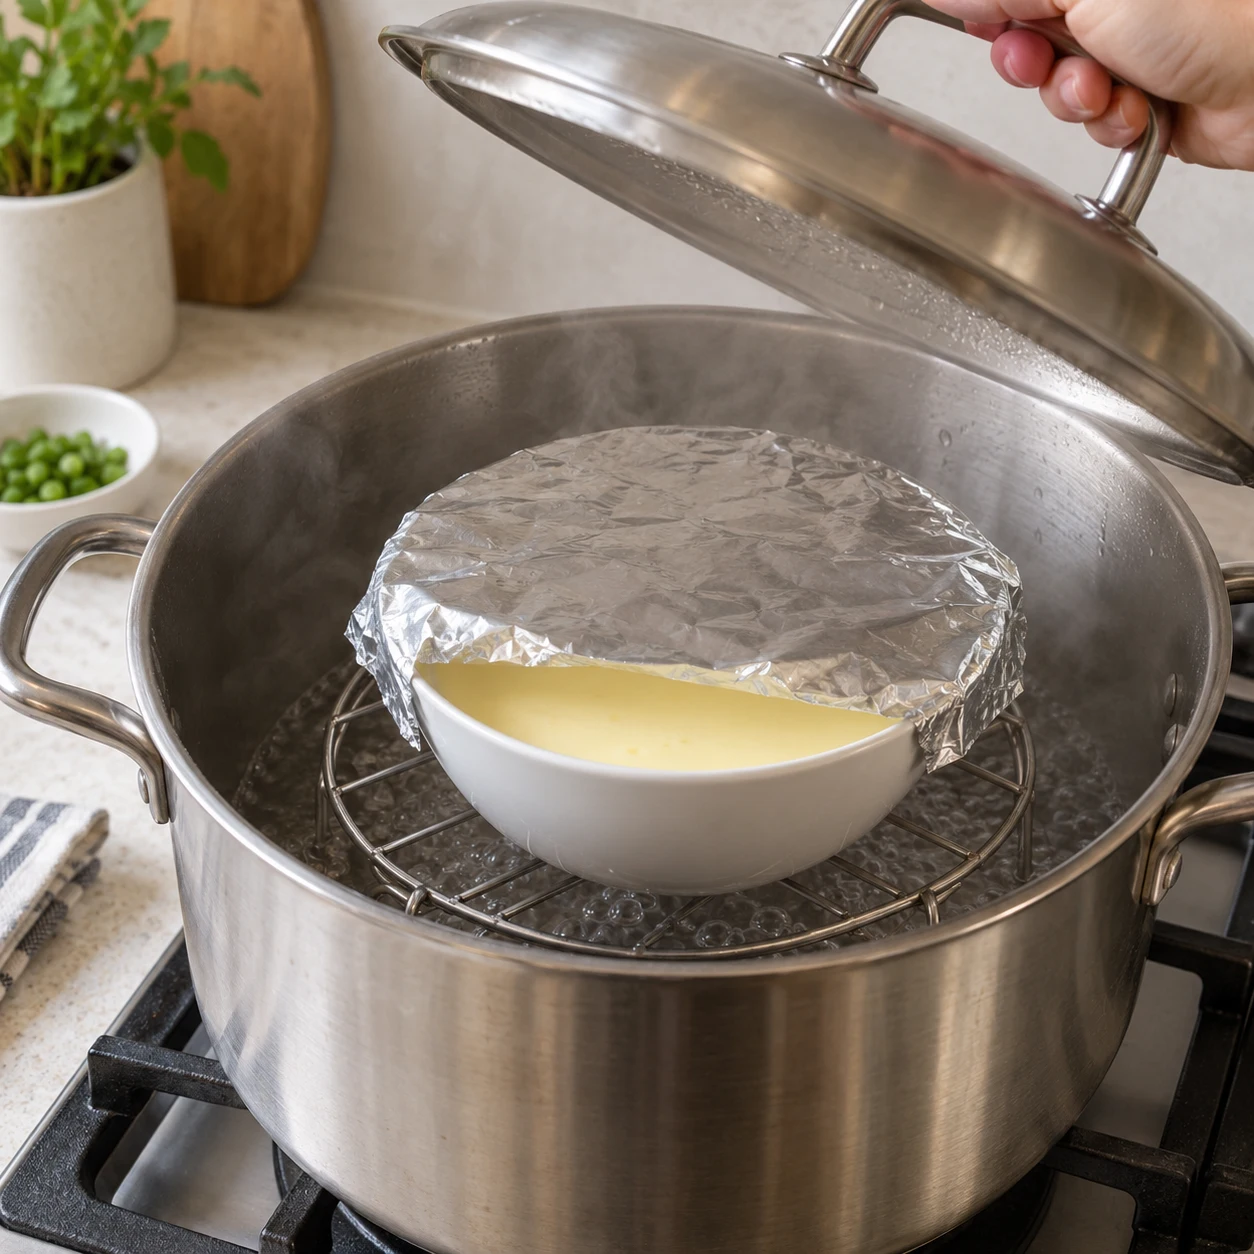
Put the rack in the pot and add enough water to be 2–3 cm deep, below the top of the rack. Bring to a boil before lowering in the bowl carefully. Water stays outside the bowl. Cover the pot and reduce to a gentle steady simmer.
-
Step 5
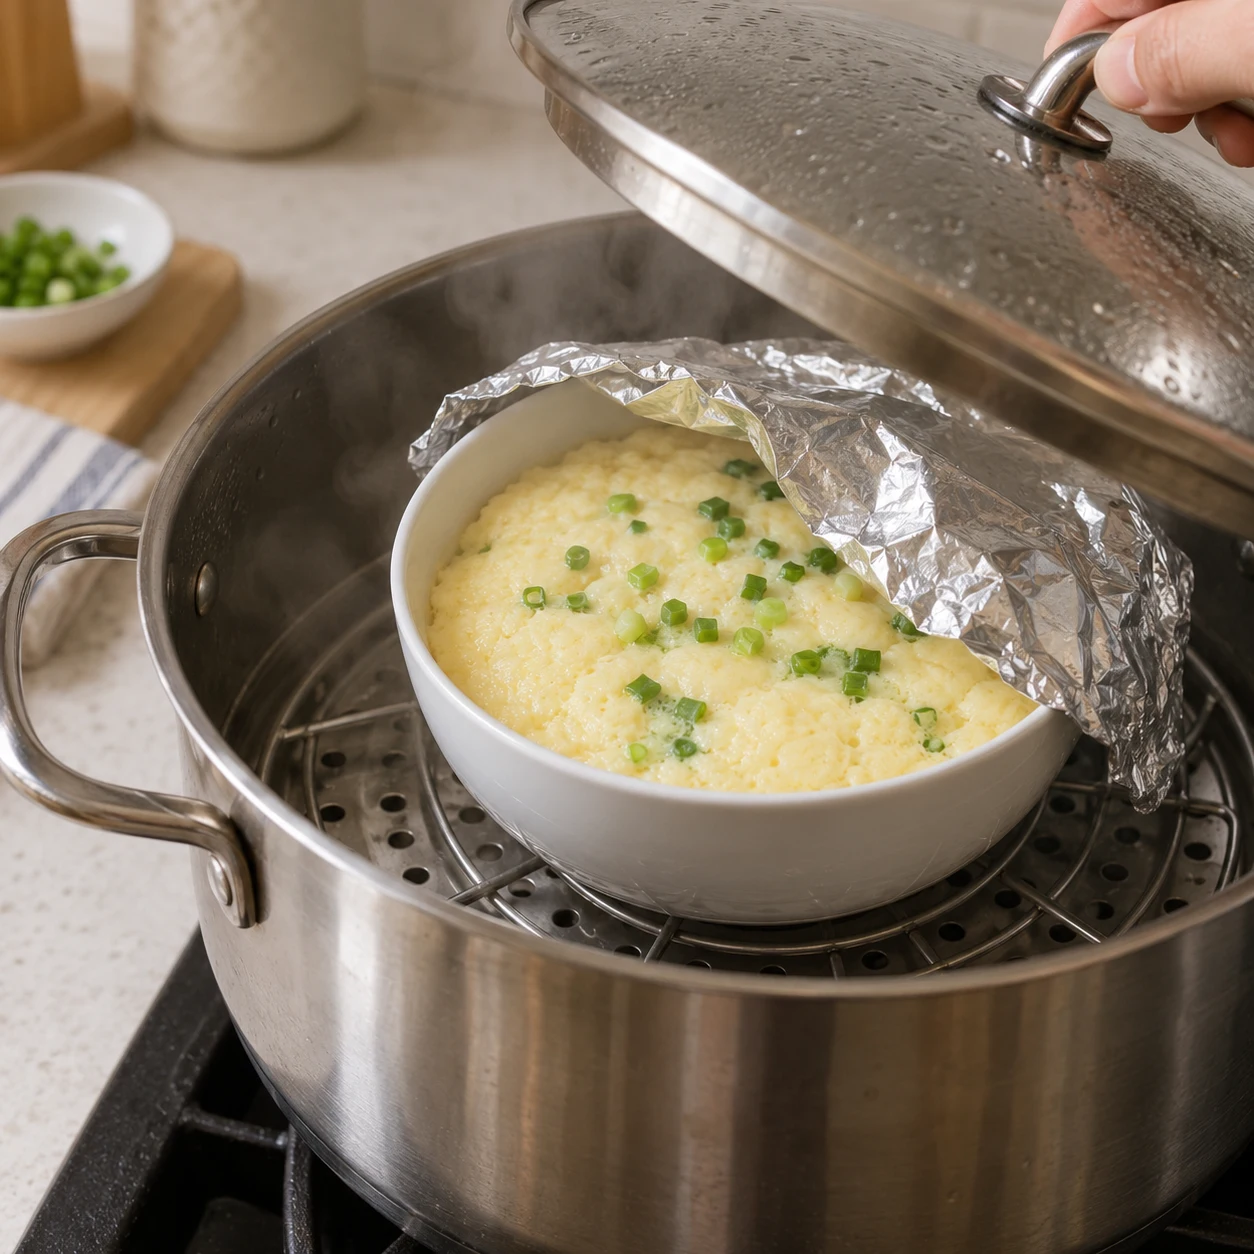
Steam covered for 15–20 minutes on low to medium-low heat. Do not let it boil violently or uncover repeatedly. If the water gets low, carefully add hot water beside the bowl. A deeper or thicker bowl can need a few more minutes.
-
Step 6
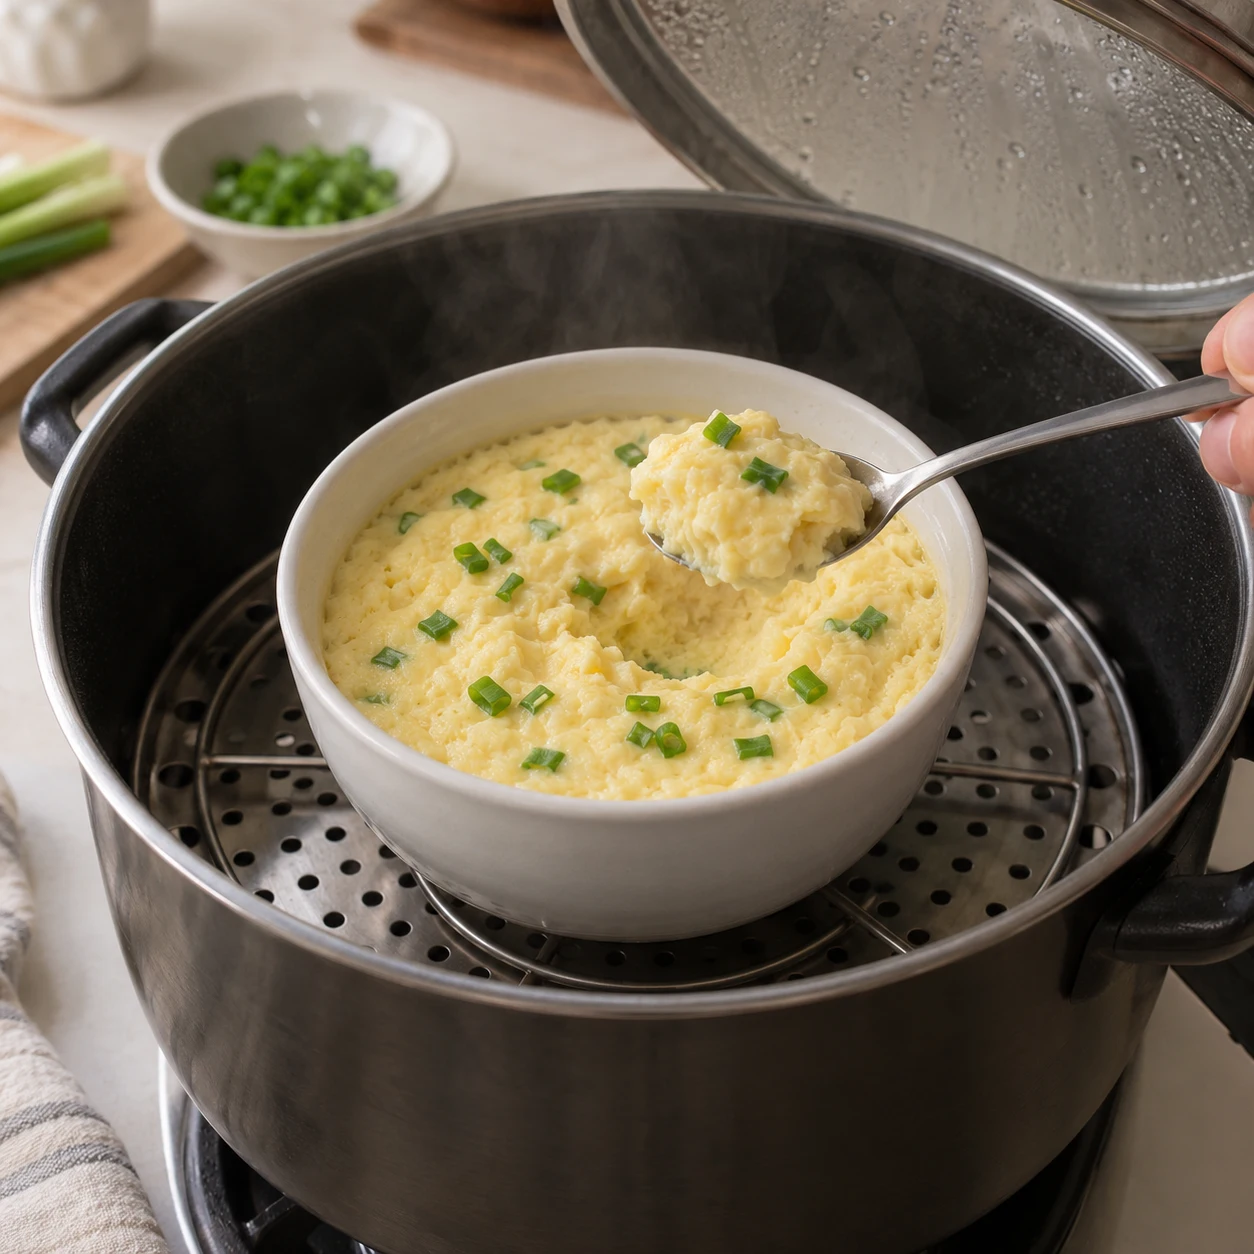
Lift the lid away from your face and remove the foil carefully. The center should be fully set and softly tremble, without flowing raw egg; if checked, egg dishes reach 71°C. Steam another 2–3 minutes if needed. Lift out with dry oven gloves, drizzle the optional ¼ teaspoon sesame oil, cool slightly and share between two.
Finished dish
The recipe water goes into the eggs; additional steaming water belongs under the rack. Use a bowl expressly suitable for steaming and dry oven gloves. Gentle steam makes a soft custard, not a towering restaurant-style egg. Contains egg, with sesame if the finishing oil is used. For children omit sesame oil if needed, keep salt low and let the hot center cool. Use a small 180 ml paper cup, a level eating-spoon (about 15 ml) and a small teaspoon (about 5 ml). Household spoon and vegetable sizes vary; pack weights are a helpful reference. Thawing time is not included. Photos show the original ingredients, including optional extras; substitutions can change the appearance. Divide leftovers into shallow containers and refrigerate within 2 hours, or 1 hour if the room is hotter than 32°C. Keep at 4°C or colder and use within 3–4 days. Reheat the portion needed thoroughly to 74°C; soy sauce is seasoning, not a method for making meat or fish safe at room temperature.