Kimchi tuna fried rice for camping
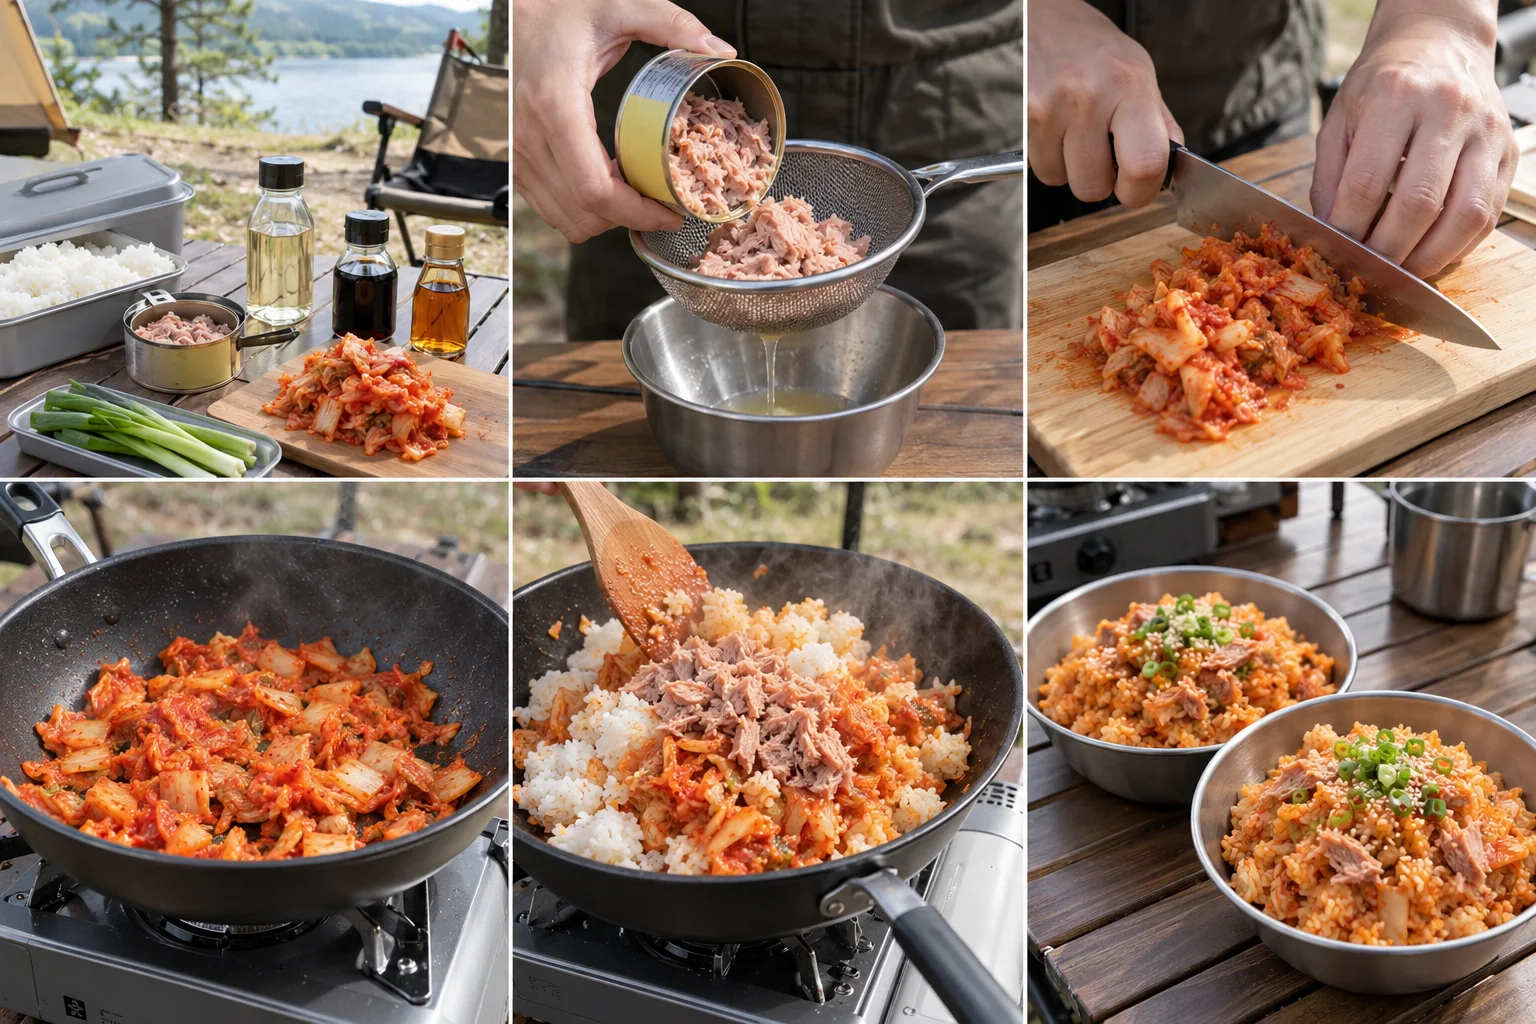
A campsite version of chamchi kimchi bokkeumbap made with canned tuna, cooked rice and kimchi in one skillet.
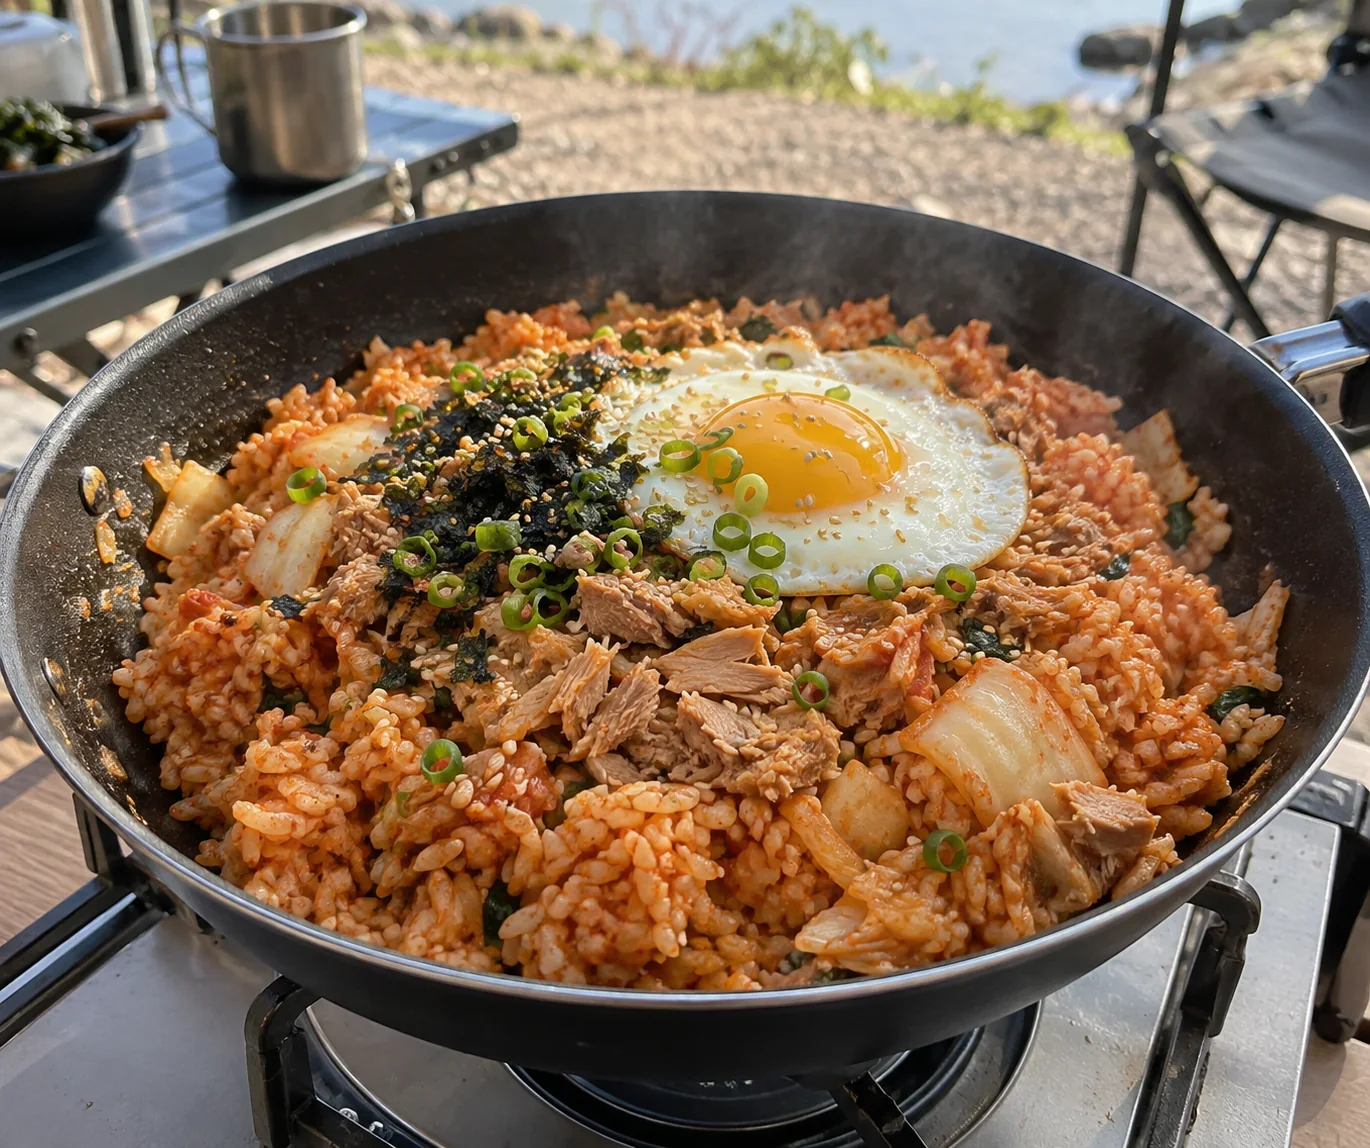
AI-generated cooking illustrations. Follow the written quantities and instructions.
Ingredients
2 servings
Everyday kitchen measurements
For 2 servings. Use a small 180 ml paper cup, a level eating spoon (about 15 ml) and a small teaspoon (about 5 ml).
How to fill the cup and spoons
Use the same cup and spoons throughout. Their sizes vary, so these amounts are approximate. Spoon flour in loosely and level the top without pressing. Measure vegetables after chopping, without packing them down. The amounts in g/ml are the original reference quantities. For part of a pack, use the specified pack weight and divide the contents evenly.
King Arthur Baking-
Essential
Use already cooked rice kept cold in a cooler; this recipe does not start with dry rice.
-
Substitute available
If Canned tuna in water — 1 small can, about 100 g drained is unavailable
If tuna is unavailable, use about 100 g drained canned salmon. Check for bones and expect a different flavour.
-
Essential
Keep chilled after opening and chop small so it fries evenly.
-
Substitute available
If Neutral cooking oil — 1 level tablespoon (15 ml) is unavailable
If neutral oil is unavailable, use the same amount of canola or sunflower oil.
-
Optional
Leave out if the kimchi and tuna already taste salty enough.
-
Optional
Leave out if unavailable; add only after turning off the heat.
-
Optional
Leave out if unavailable; add at the end for freshness.
Tap each ingredient as you prepare it. Check product labels for egg, soy, sesame, wheat, fish or shellfish where relevant.
Step-by-step cooking
-
Step 1
Drain the tuna and chop 1 paper cup kimchi. Break up 2 paper cups of chilled cooked rice with a clean spoon. Keep the rice chilled until the pan is hot; use a cooler below 4°C.
-
Step 2
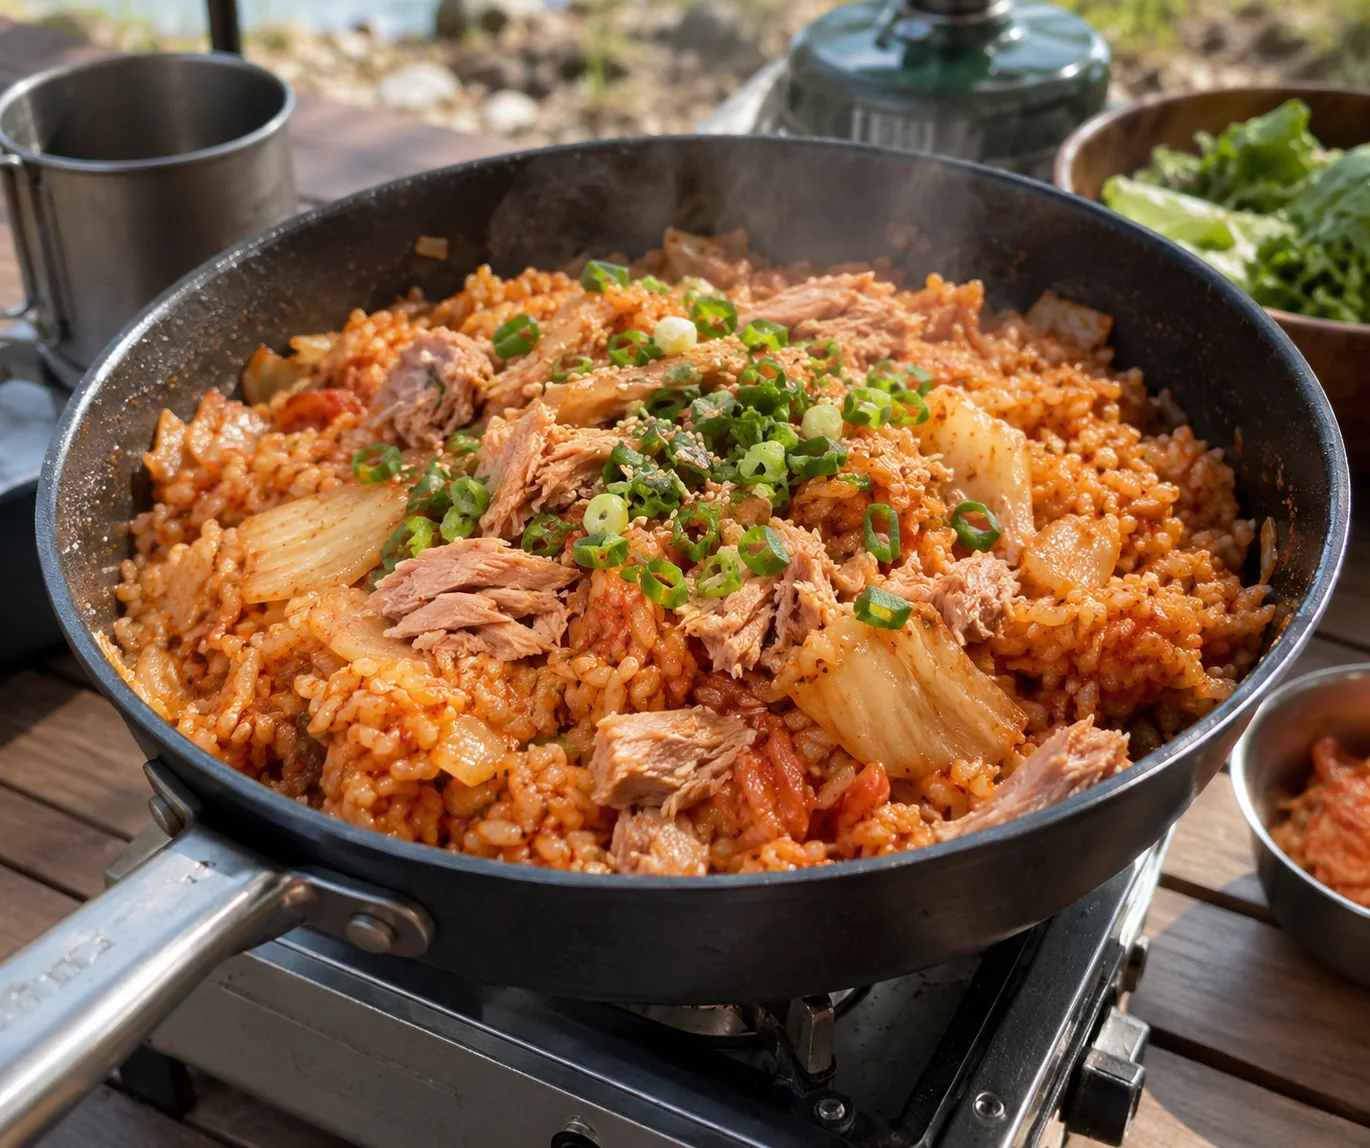
Heat 1 level tablespoon oil in a wide pan on an outdoor camp stove. Fry the chopped kimchi for 3–4 minutes until softened. Add the rice and spread it out; stir-fry for 3 minutes until steaming hot throughout.
-
Step 3
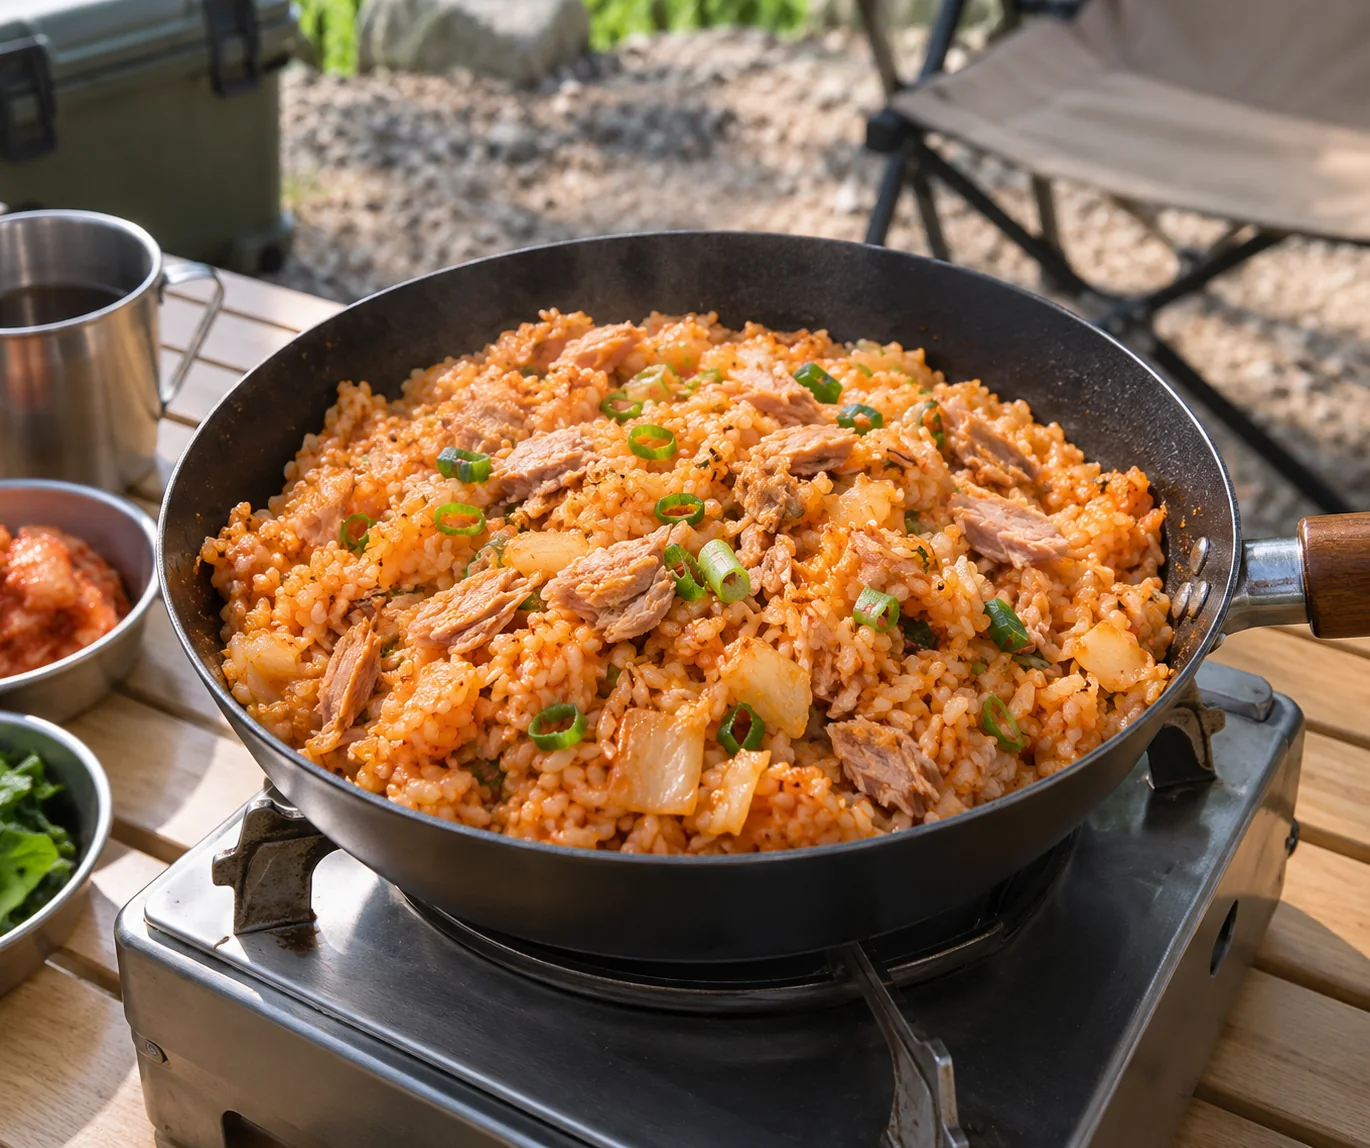
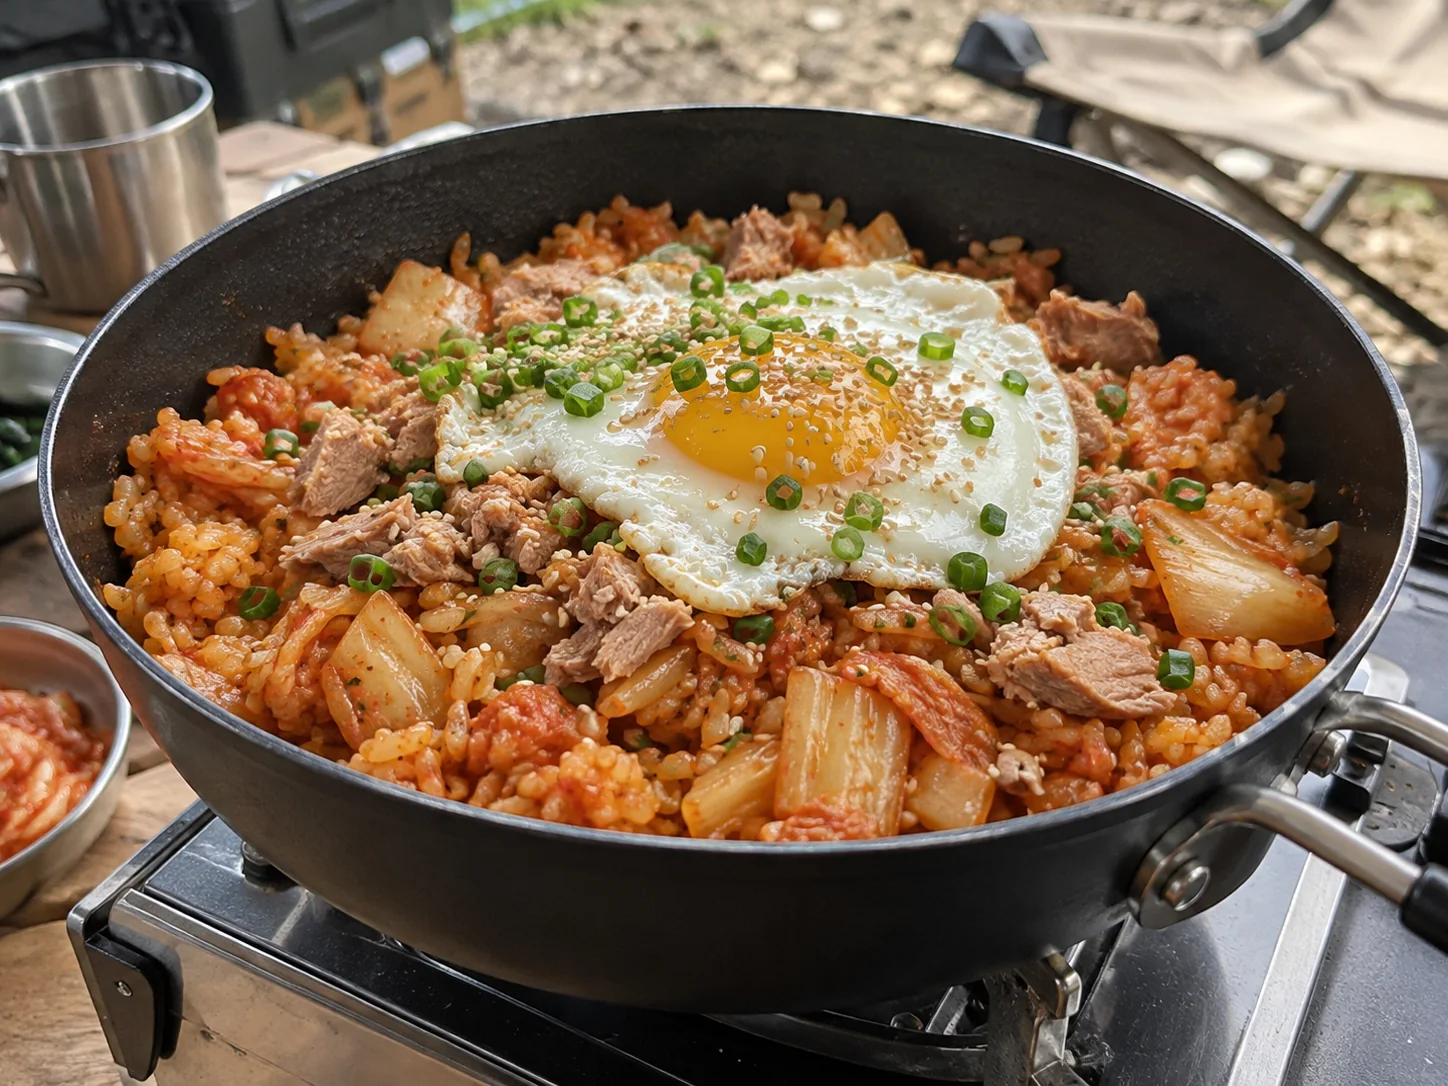
Fold in the drained tuna and cook 1–2 minutes more until hot. Taste before adding the optional 1 small teaspoon soy sauce. Turn off the heat, add sesame oil and spring onion only if using, and divide between two bowls.
Finished dish
A paper cup is 180 ml. Refrigerate cooked rice quickly after making it, carry it cold and use within 24 hours. Reheat rice only once until steaming hot. Tuna contains fish; soy sauce may contain wheat. Refrigerate leftovers promptly. Cook only outdoors where your campsite permits the equipment. Use clean drinking water and utensils. Keep perishable food at 4°C or below in a cooler; chill leftovers within 2 hours, or within 1 hour above 32°C.