Korean-style air fryer chicken
A simple Korean-style salt and garlic chicken with crisp skin, cooked in an air fryer instead of a pot of oil. No special marinade or chilli is needed.
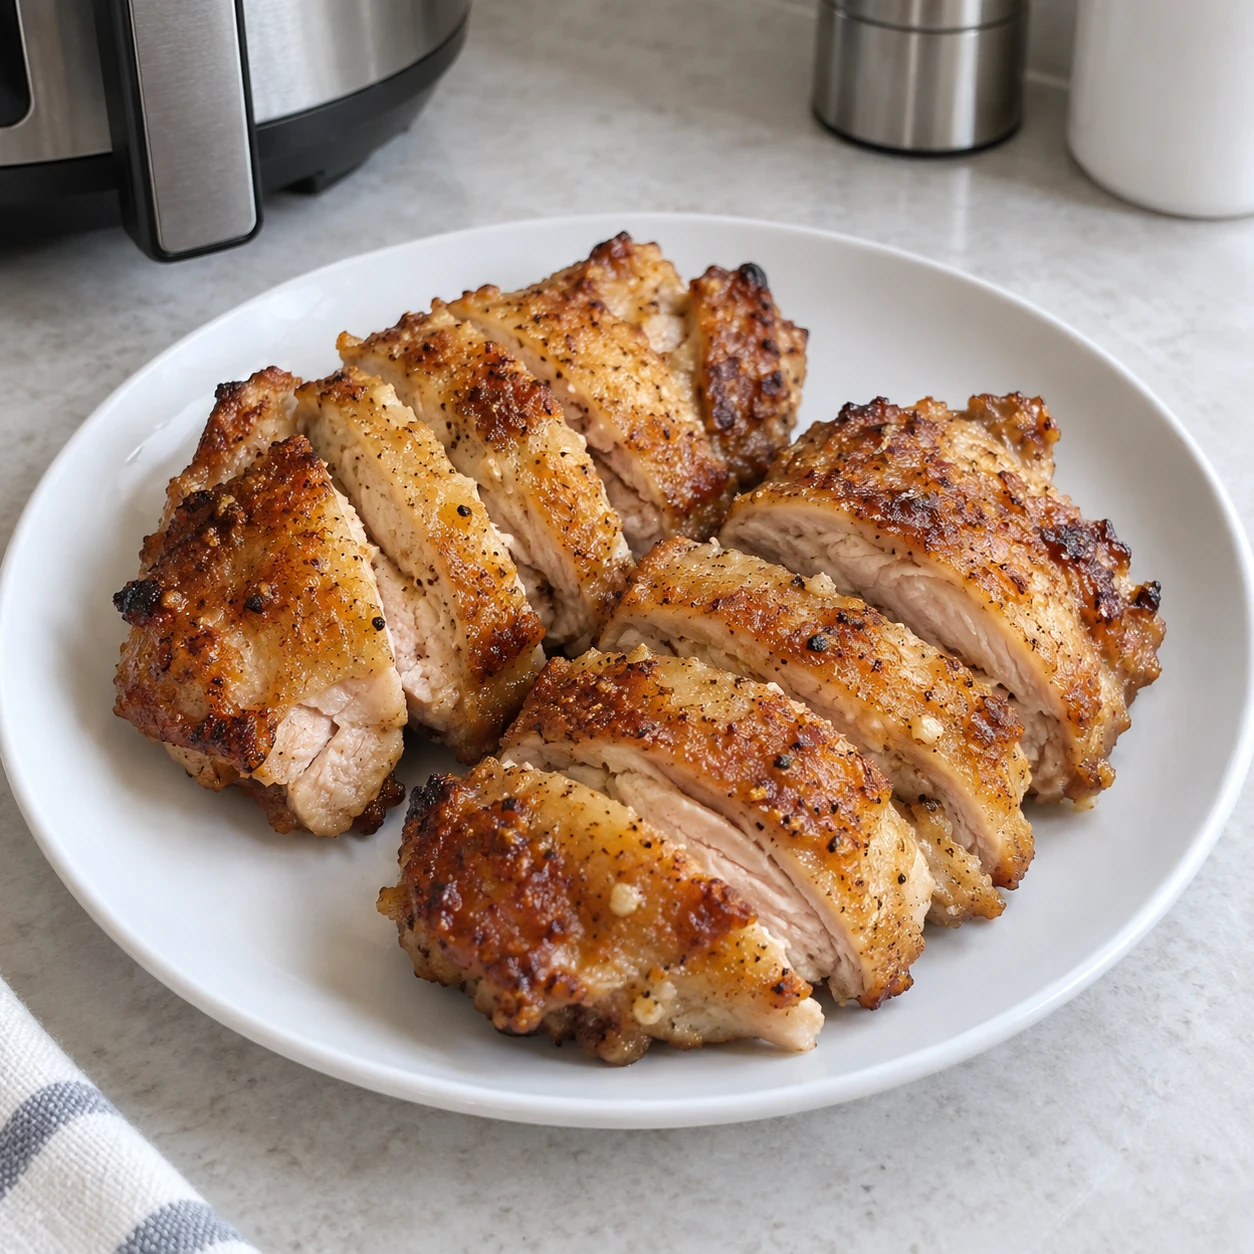
AI-generated cooking illustrations. Follow the written quantities and instructions.
Ingredients
2 servings
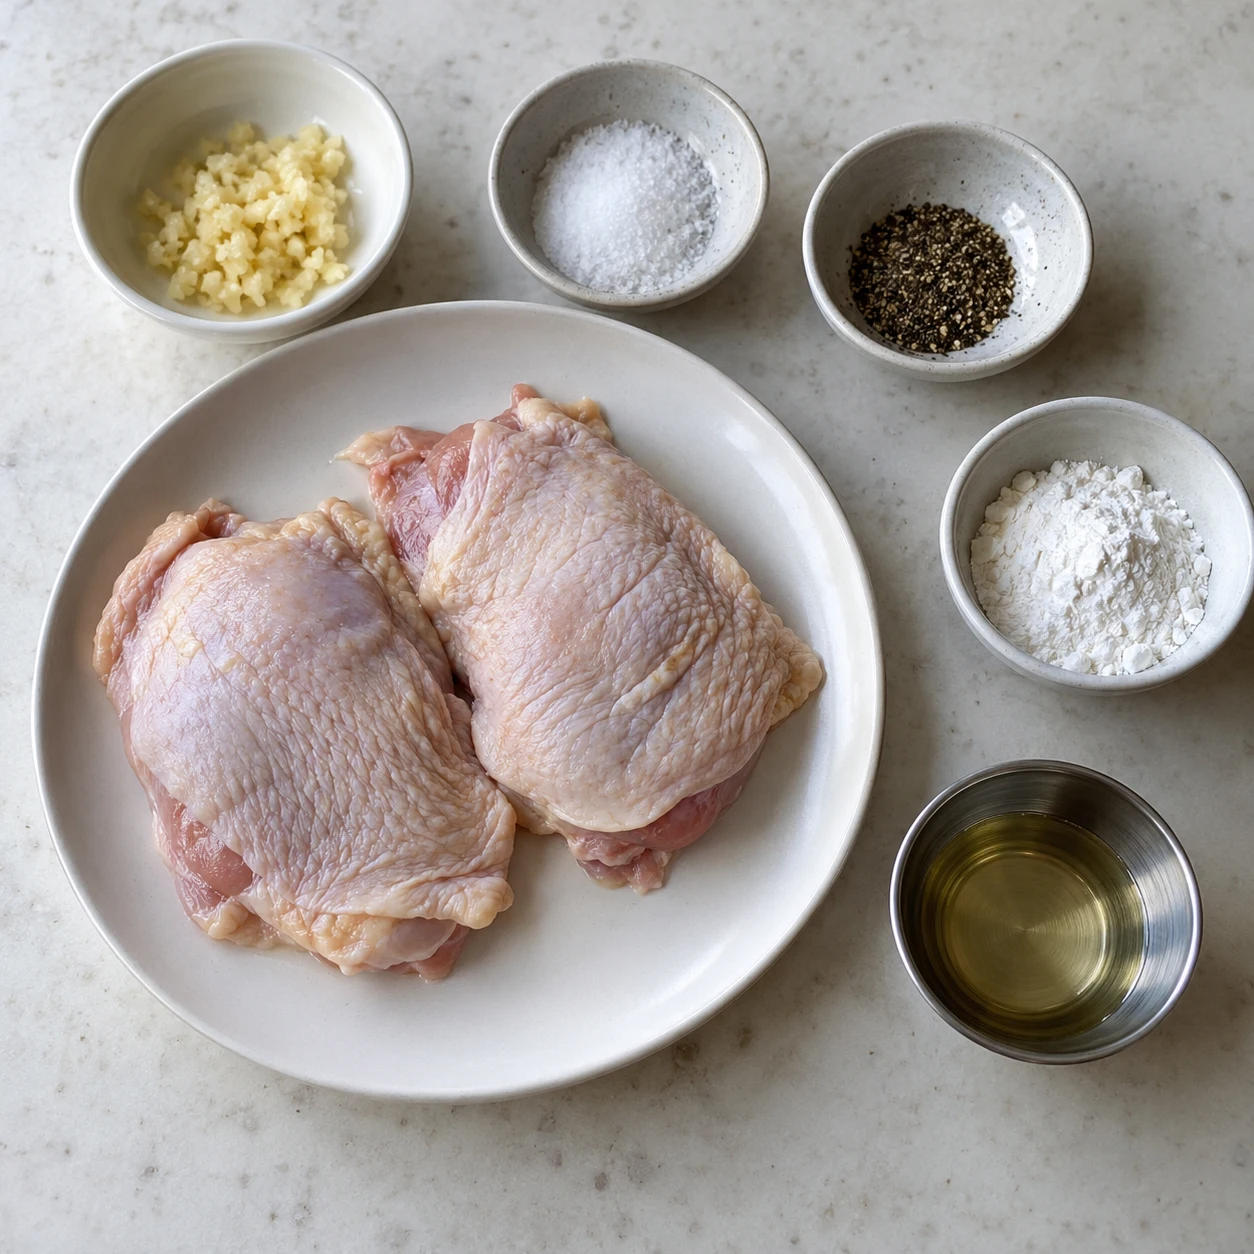
Everyday kitchen measurements
For 2 servings. Use a small 180 ml paper cup, a level eating spoon (about 15 ml) and a small teaspoon (about 5 ml).
How to fill the cup and spoons
Use the same cup and spoons throughout. Their sizes vary, so these amounts are approximate. Spoon flour in loosely and level the top without pressing. Measure vegetables after chopping, without packing them down. The amounts in g/ml are the original reference quantities. For part of a pack, use the specified pack weight and divide the contents evenly.
King Arthur Baking-
Substitute available
If Boneless skin-on chicken thigh is unavailable
- Use instead
- Boneless skin-on chicken breast
- Substitute quantity
- 1 packReference quantity: 400 g
Keep pieces about 2 cm thick. Check a few minutes earlier because breast dries out faster; its centre must still reach 74°C.
-
Essential
Season both sides evenly. Do not add extra salt after cooking without tasting.
-
Optional
May be omitted. Skip its preparation and addition; keep all other amounts unchanged. The flavour will be milder.
-
Optional
May be omitted. Skip its preparation and addition; keep all other amounts unchanged. The flavour will be milder.
-
Substitute available
If Potato starch is unavailable
- Use instead
- Cornstarch
- Substitute quantity
- 1 level eating spoonReference quantity: 8 g
Dust on a thin layer only. The surface will be slightly lighter.
-
Essential
Brush lightly onto the skin and basket to help browning and prevent sticking.
Tap each ingredient as you prepare it. Check product labels for egg, soy, sesame, wheat, fish or shellfish where relevant.
Step-by-step cooking
-
Step 1
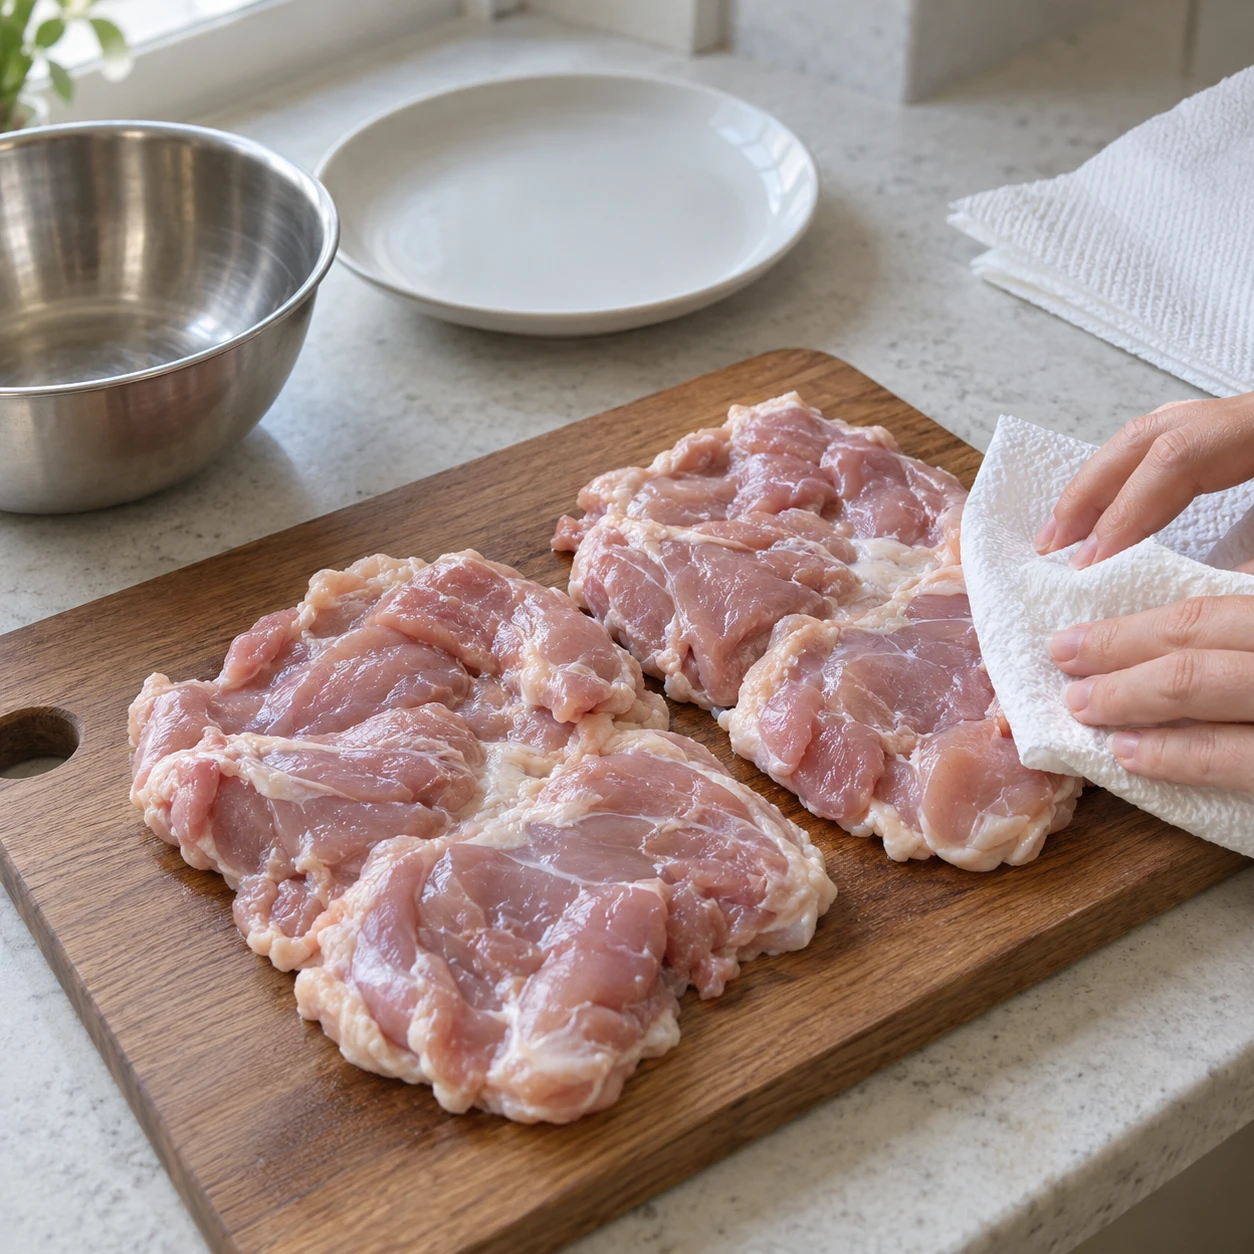
Pat the boneless skin-on chicken dry with kitchen paper. Open out any folded sections so each piece is roughly 2 cm thick. Do not wash raw chicken; wash hands and clean its board afterwards.
-
Step 2
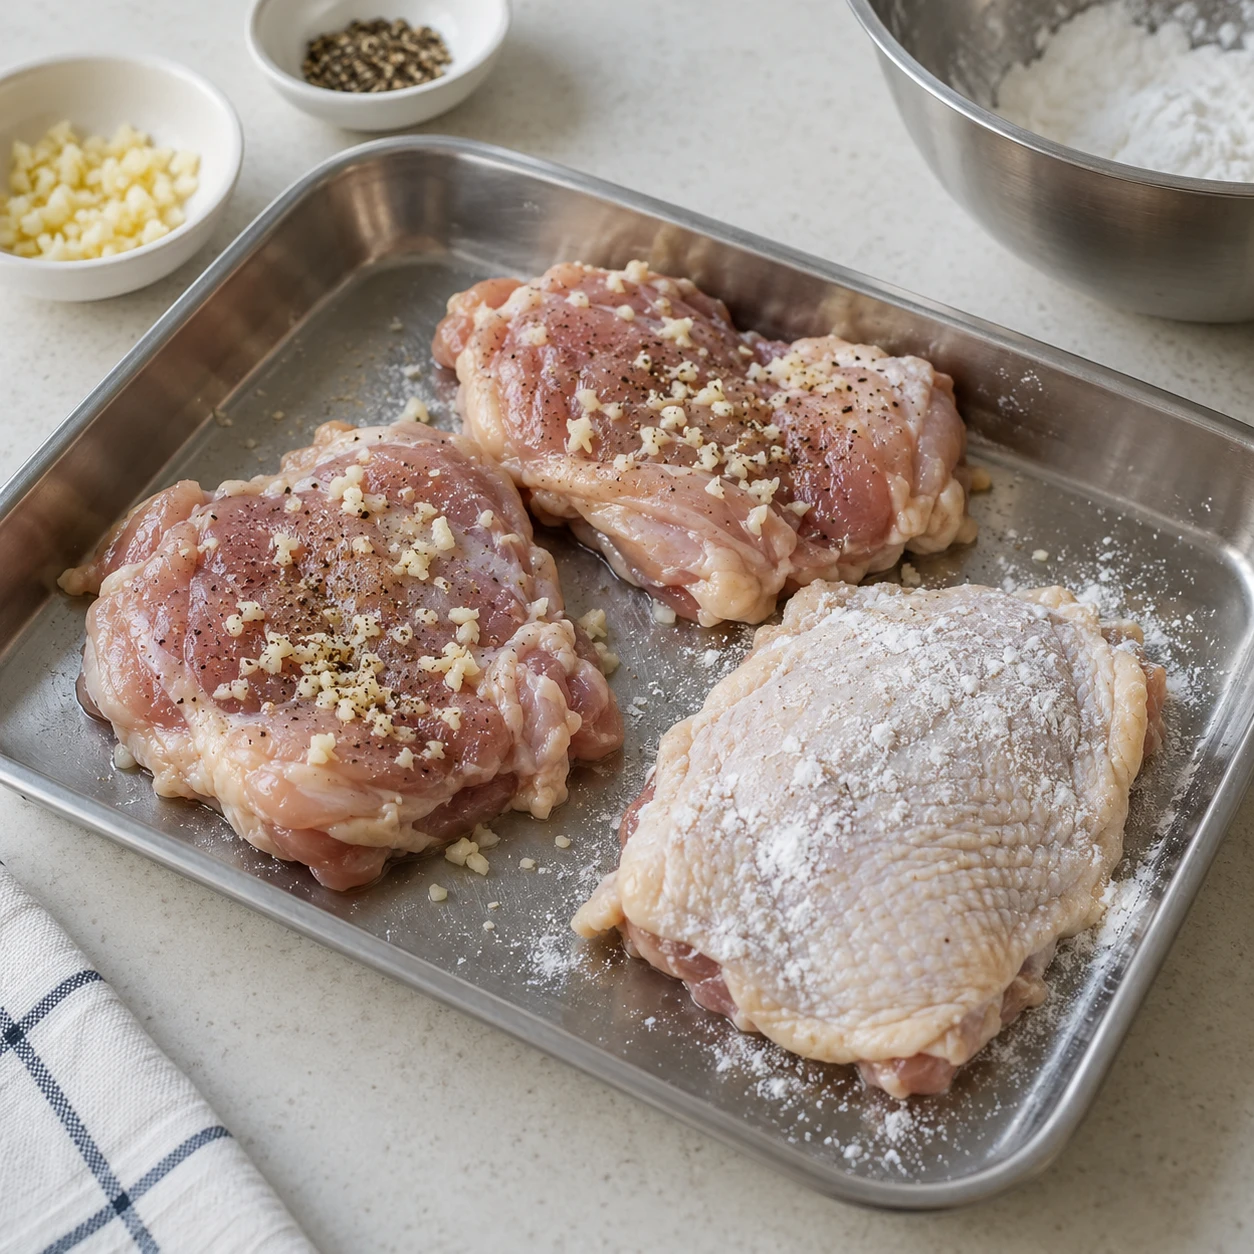
Rub the salt, minced garlic and pepper onto the meat side. Keep large garlic pieces off the skin so they do not burn. Dust the skin very lightly with the potato starch.
-
Step 3
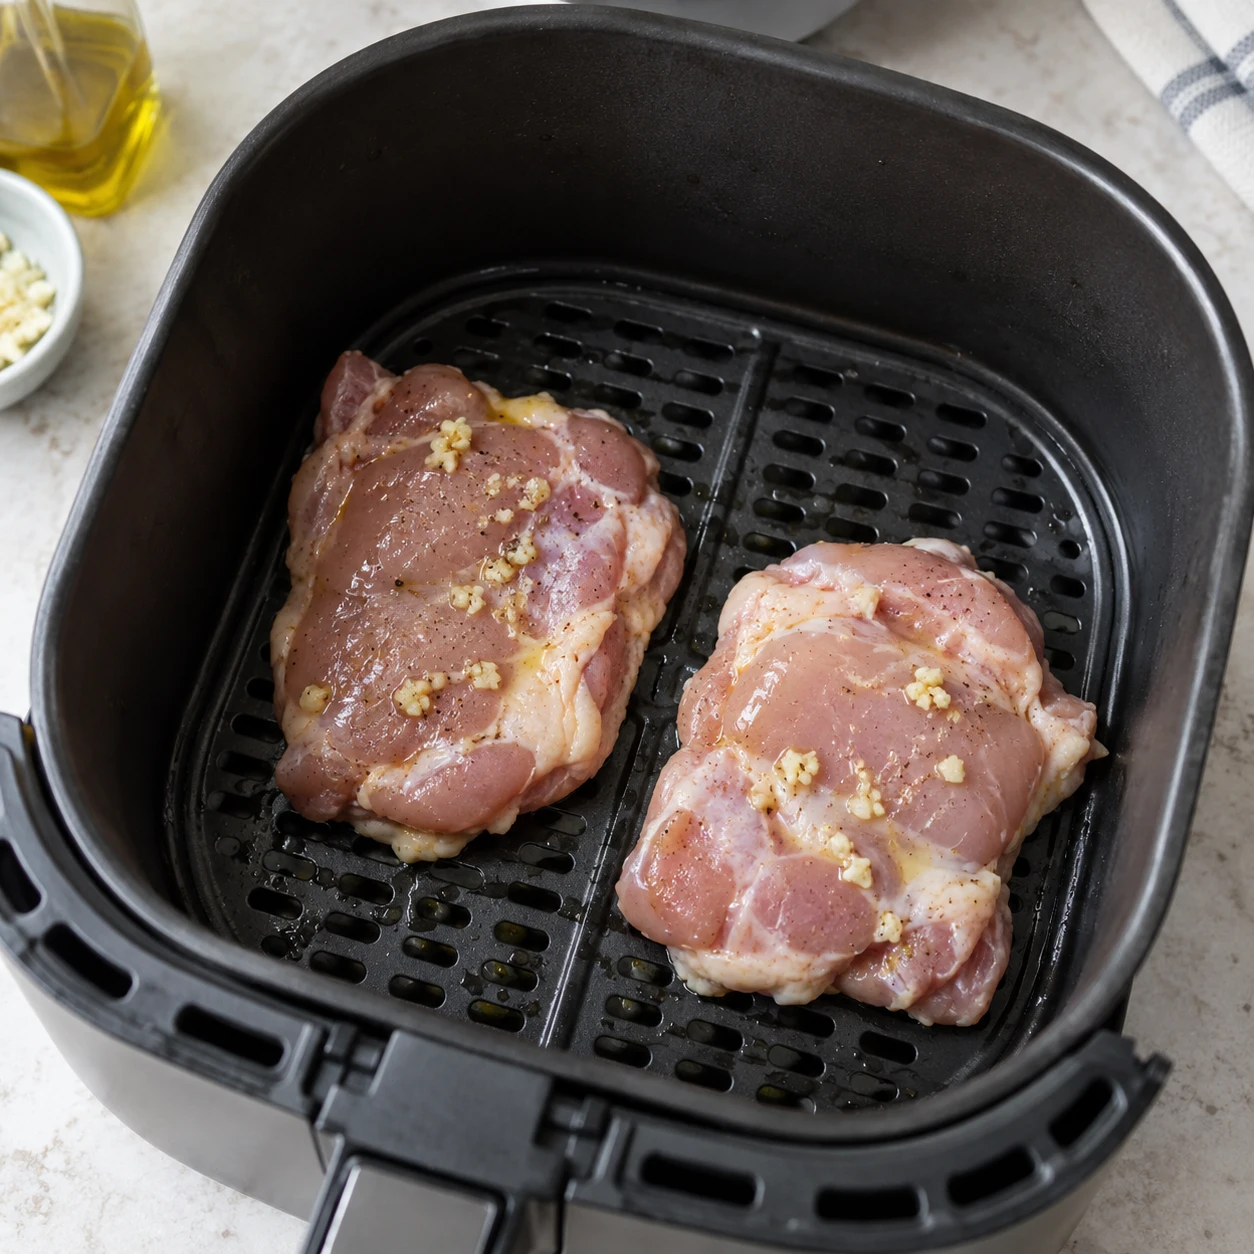
Preheat the air fryer to 180°C for 3 minutes, or follow its manual. Brush the basket and skin with the listed oil. Arrange the thighs skin-side down in a single layer with gaps; cook in batches if necessary.
-
Step 4
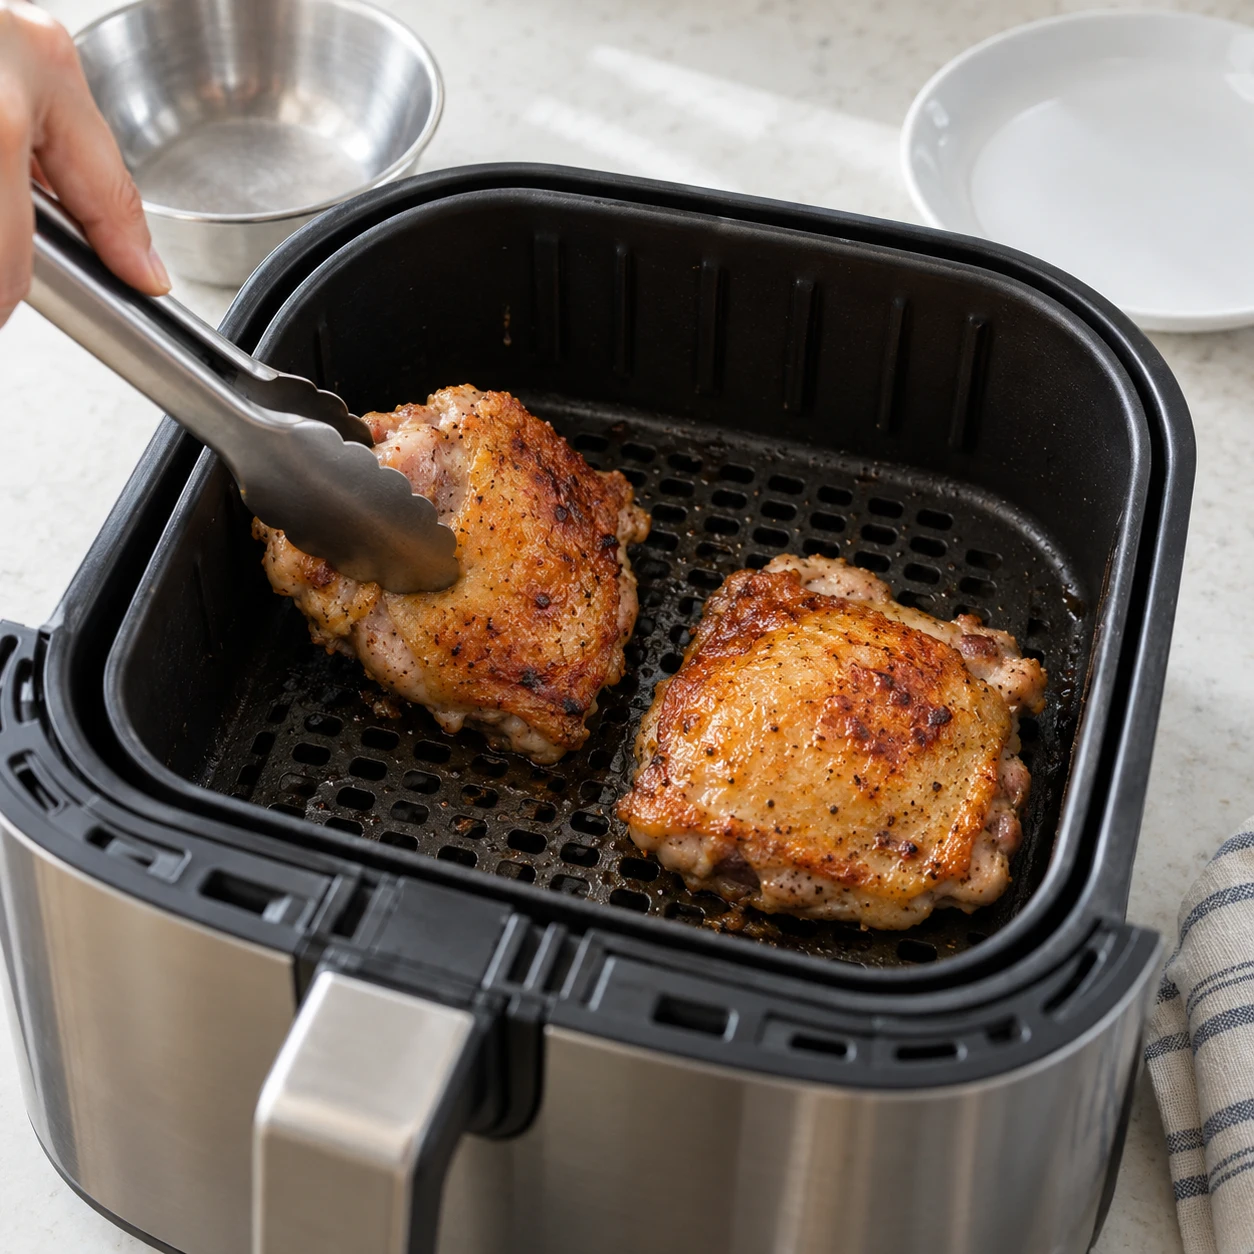
Air fry at 180°C for 10 minutes. Turn carefully with clean tongs so the skin faces up, then cook for another 8–12 minutes. Different air fryers cook at different speeds.
-
Step 5
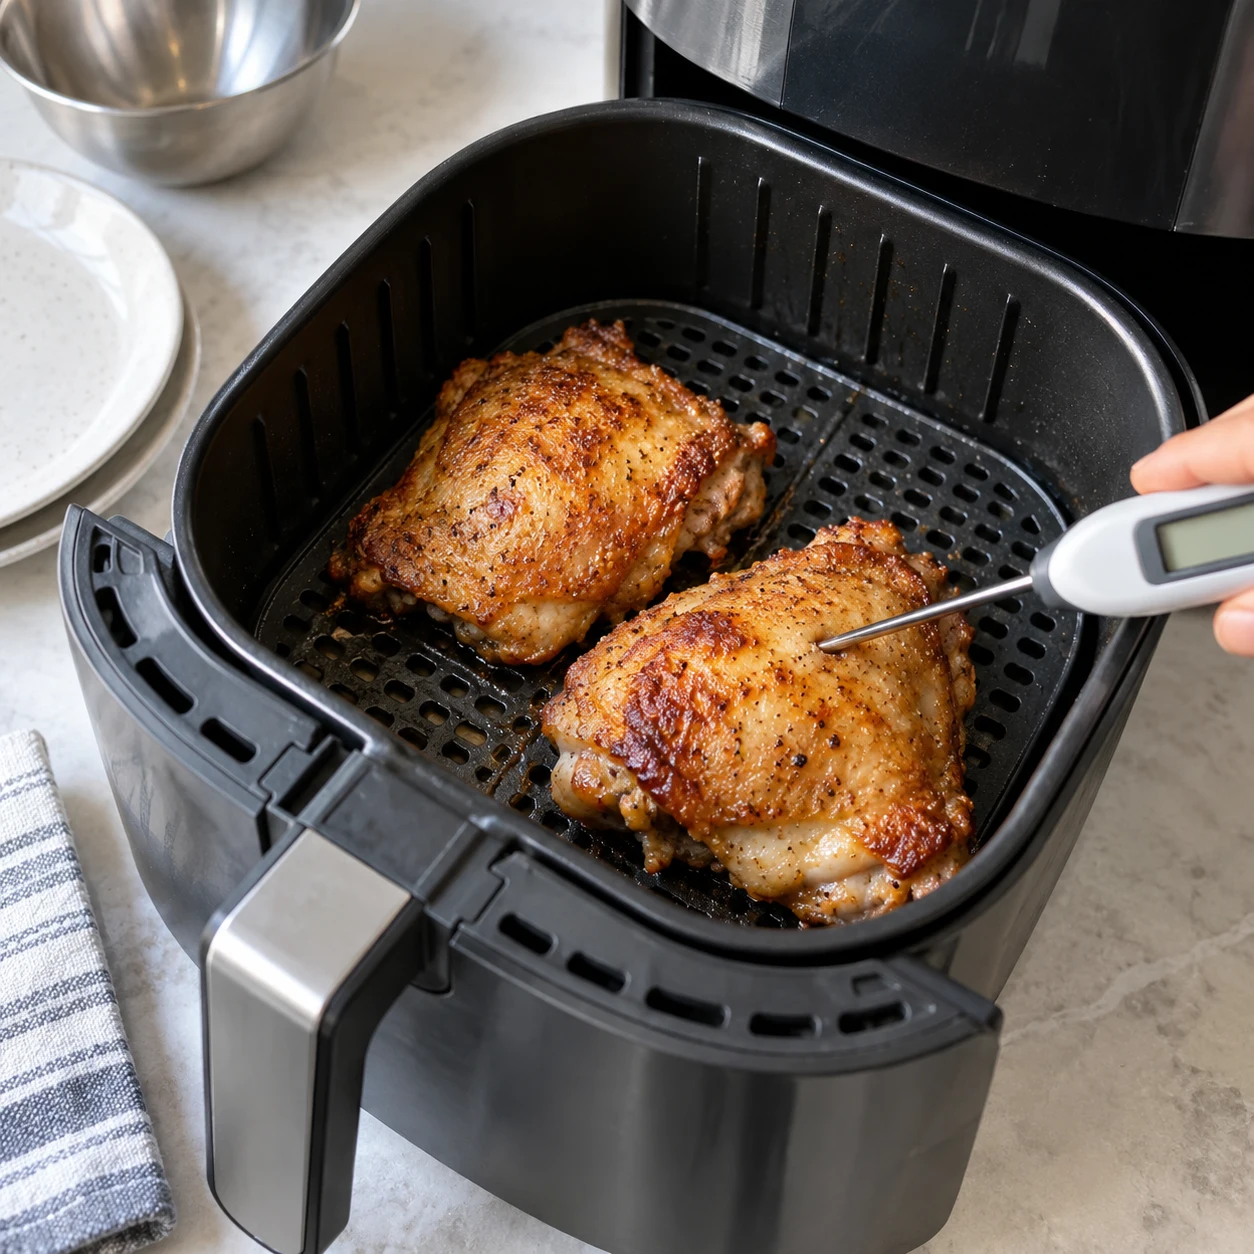
Check the thickest part of every thigh with a clean food thermometer: it must reach 74°C. If cooler, cook for another 2–3 minutes and check again. If already cooked but you want crisper skin, finish at 200°C for 1–2 minutes while watching closely.
-
Step 6
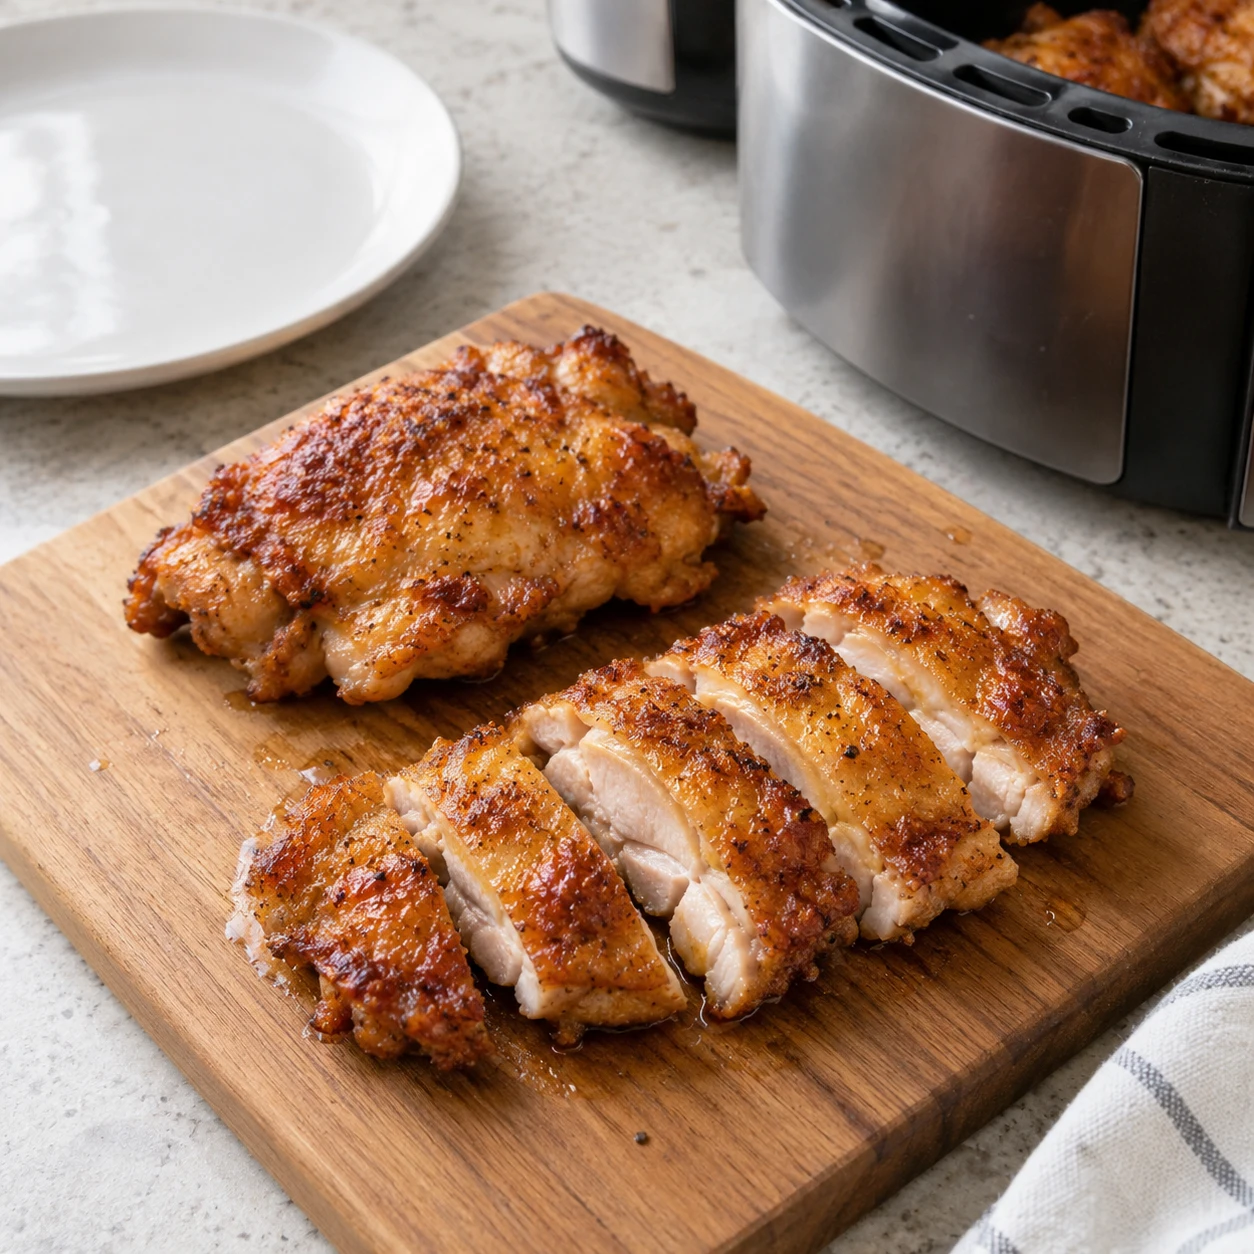
Move to a clean plate and rest for 3 minutes, then slice into bite-size pieces. Serve immediately while the skin is crisp. Clean the cooled basket according to the appliance manual.
Finished dish
Use boneless thighs; bone-in pieces need a different cooking time. Oven alternative: place skin-side up on a rack over a tray in a preheated 200°C fan oven for about 25–30 minutes, then check for 74°C inside. Times vary by thickness and appliance. Divide leftovers into shallow containers and refrigerate within 2 hours, or within 1 hour if the room is hotter than 32°C. Keep at 4°C or below, use within 3–4 days and reheat leftovers to 74°C.
Enjoy every bite
How to enjoy it
Serve immediately while the surface is crisp. Keep any accompanying sauce separate until you are ready to eat.
Serve it with
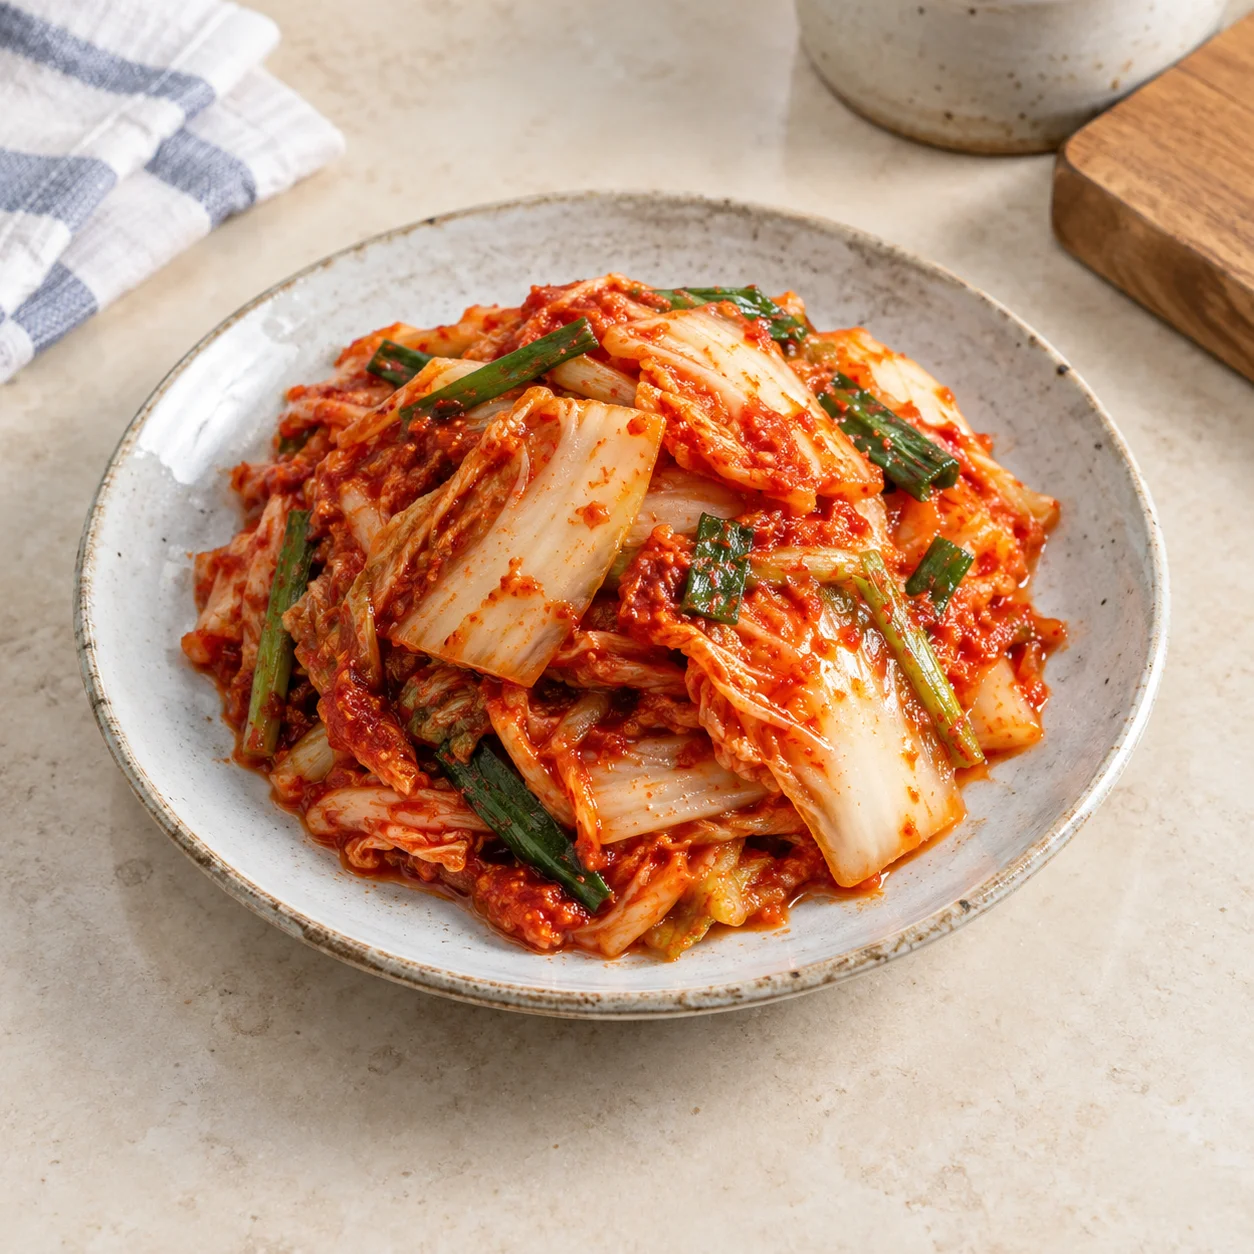
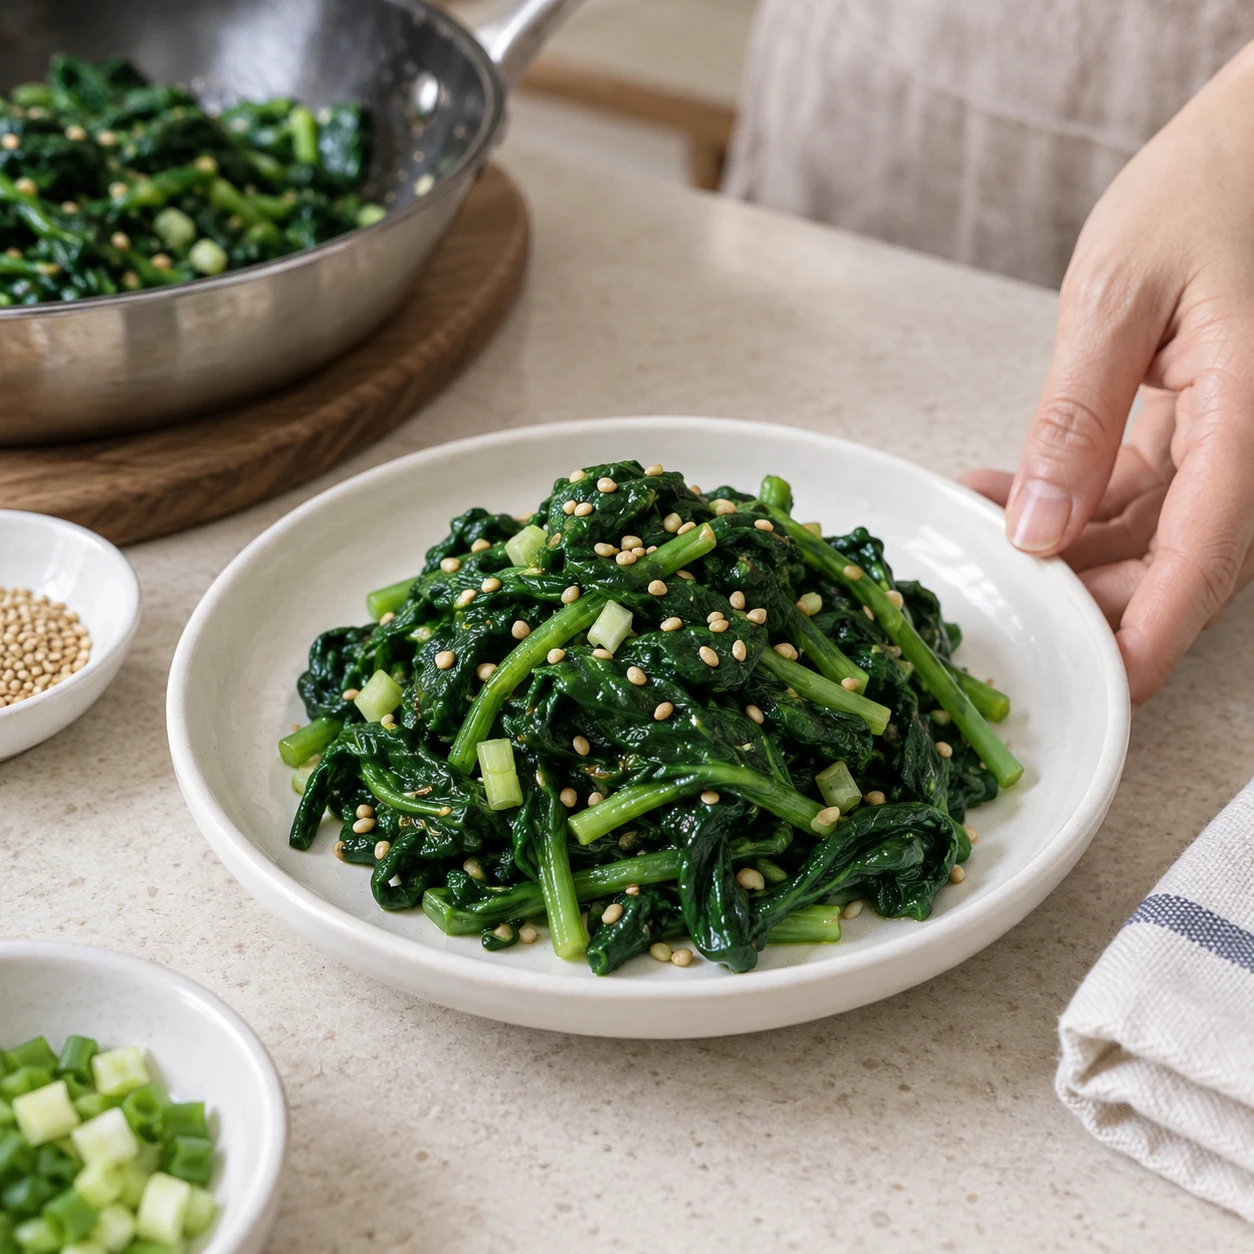
Seasoned spinach (Sigeumchi namul)
Lightly seasoned vegetables let the main dish stand out.
View recipe